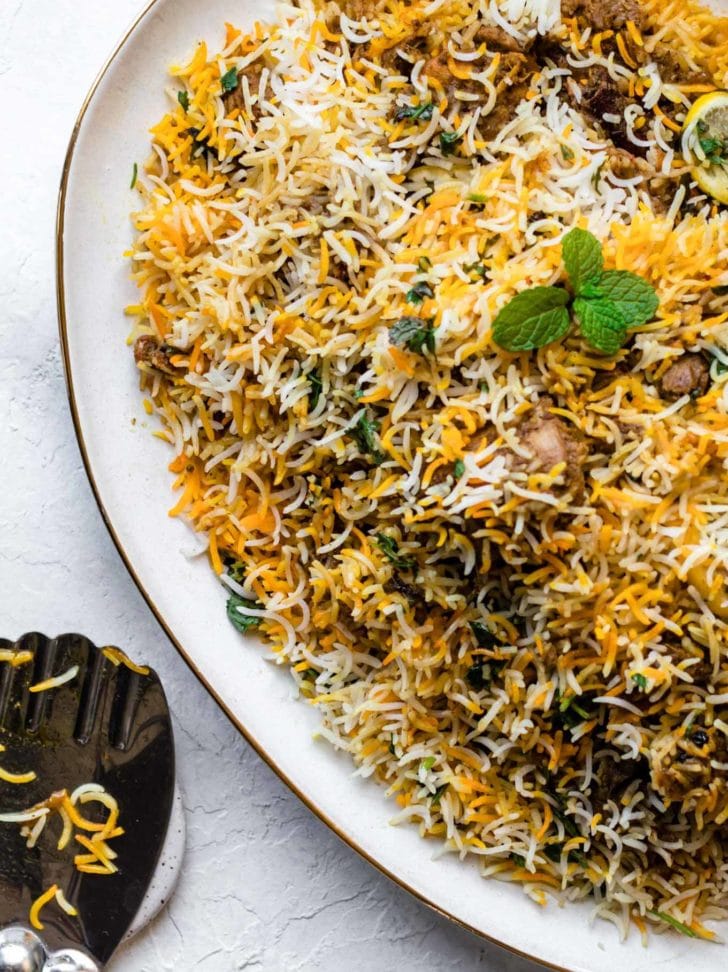
Pakistani Chicken Biryani Recipe (The BEST!)
Behold! An authentic Chicken Biryani recipe with simple, easy-to-follow instructions (no curveballs!) and mouthwatering, traditional Pakistani and Indian flavor. This recipe includes tips on how to get fluffy rice, tender chicken, and the distinct biryani taste. Tested to perfection!
Want to save this post?
Enter your email below and get it sent straight to your inbox. Plus, get recipes & tips every week!
“I have tried several biryani recipes, none come near this one. Thank you for sharing this gem!”
Rahul
It took me absolutely no effort to bring you this biryani recipe. All I had to do was find the best biryani in Houston, dissect it, hound poor Rizwan for details, perform 10+ trials, use the concepts in Salt Acid Fat Heat to further perfect it, survey my email list for preferences, interpolate to figure out spice quantities, and you know…cry a little.
In short, I literally ate, slept, and breathed biryani until I could proudly publish this most-beloved, highly requested recipe and do it justice. Phew. Let’s do this.
More Famous Chicken Recipes: Butter Chicken, Chicken Jalfrezi, and Chicken Karahi
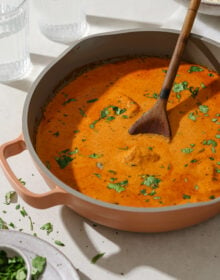
What is Biryani?
Biryani is an intricate rice dish made with layers of curried meat and rice. Given its use of adornments and luxurious finishes, it’s no surprise that biryani has roots in Persian cuisine.
There are two main methods of making biryani:
- Kachi (raw) biryani, made with raw meat and parboiled rice and cooked together, and
- Pakki (cooked) biryani, in which cooked meat and parboiled rice are steamed together.
In Pakistan, pakki (or cooked) biryani is most common, with several prominent varieties such as Sindhi, Karachi-style, and Bombay biryani. This recipe is an amalgamation of these styles and is similar to what you’d find at a typical Pakistani or Indian restaurant or dinner party.
Notes on the Ingredients for Chicken Biryani

I’ve intentionally chosen the ingredients and quantities to give this biryani a strong foundation. That said, this recipe can take quite a bit of substitutions and adaptations and still be excellent.
- Oil/Ghee: I’ve used oil for fluidity and ghee for taste.
- Onions: You can either thinly slice them (more traditional) or finely chop. If using a food processor to do this, pulse to chop so that it doesn’t blend into a paste.
- Bone-in, cut up, skinless chicken: I buy pre-cut up pieces of a whole chicken, but bone-in chicken thighs work too. You can also use boneless chicken, though it may require a shorter cooking time.
- Whole spices: A generous amount of whole spices are a distinct characteristic of biryani. Whole spices are meant to be discarded while eating, but if you don’t want to bite into them, feel free place them in a spice/muslin bag.
- Garlic + Ginger: I’ve given their quantities in whole form and tablespoons. I use a mortar and pestle or a food processor to crush them.
- Tomatoes: Since biryani has lots of sour ingredients like yogurt, dried plums (alu Bukhara), and lemon, I’ve found keeping the tomatoes to a minimum gives it just the right amount of tang.
- Yogurt: Not only does a yogurt marinade make the chicken more tender and flavorful, but it also makes cooking the biryani much smoother. For a dairy-free option, try using coconut milk.
- Rice: I suggest using aged, long-grain basmati rice you can find at some grocery stores, any Indian/Pakistani specialty store, or online.
- Dried Plums (Alu Bukhara): I always cherish the helping of biryani with these sweet surprises. Alu Bukhara are often used in biryani to give a sweet, tangy taste. They’re usually available at South Asian grocery stores, but if you can’t find them, you can either substitute with dried prunes or omit.
How to make Chicken Biryani – 3 Main Steps
I believe this recipe is as easy as an authentic biryani recipe can be – no superfluous or tedious steps that don’t contribute to big flavor. You’ll find that while it takes time, most of it is passive cooking time. And the end result is quite rewarding and impressive. These are 3 parts to making chicken biryani:
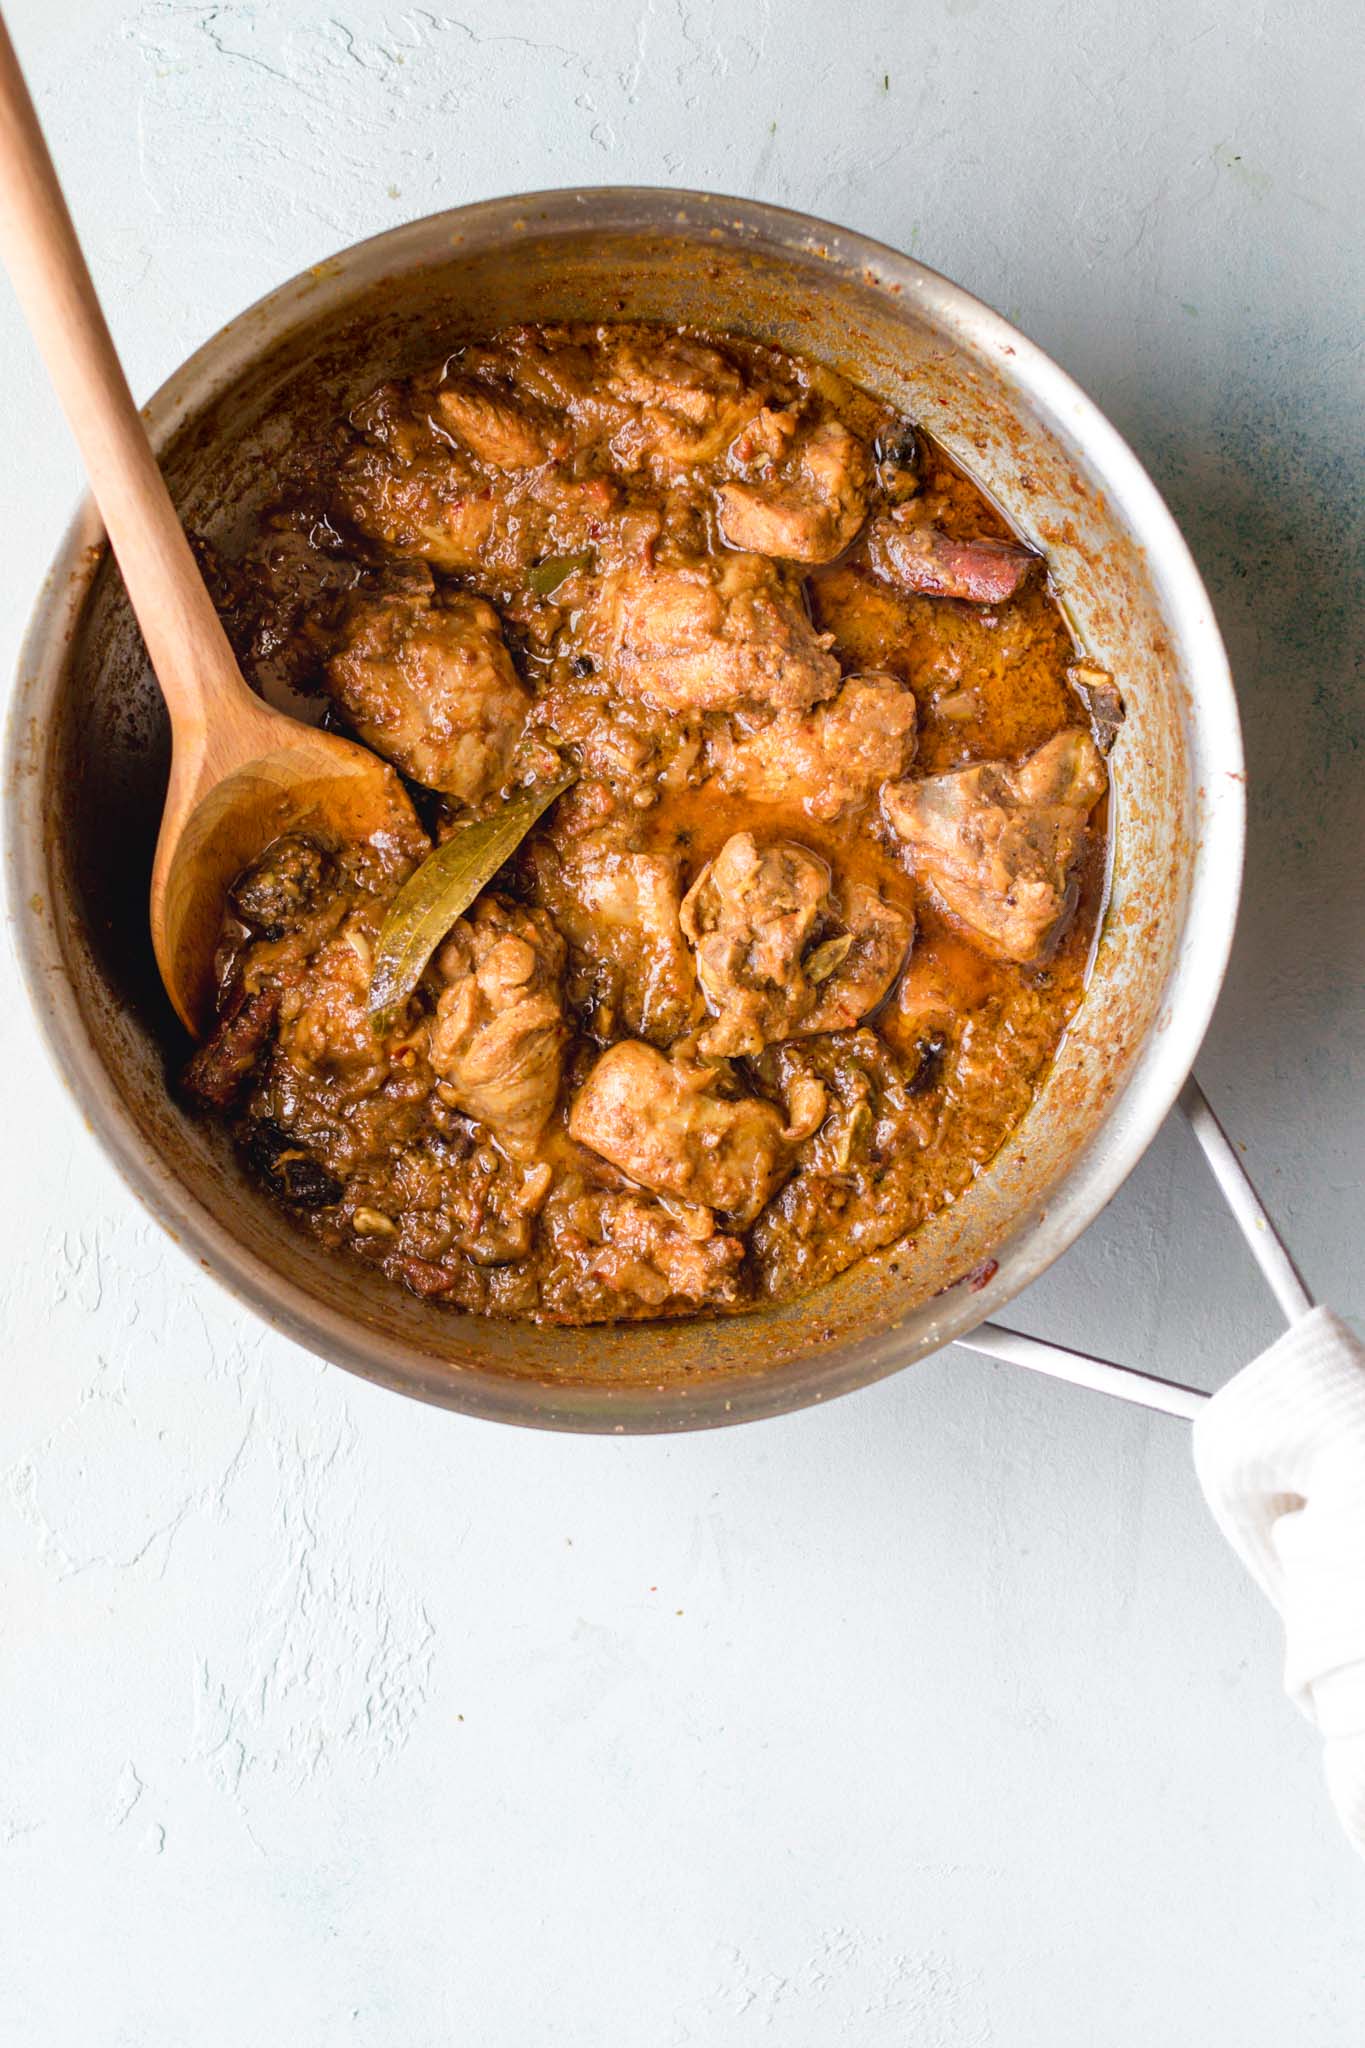
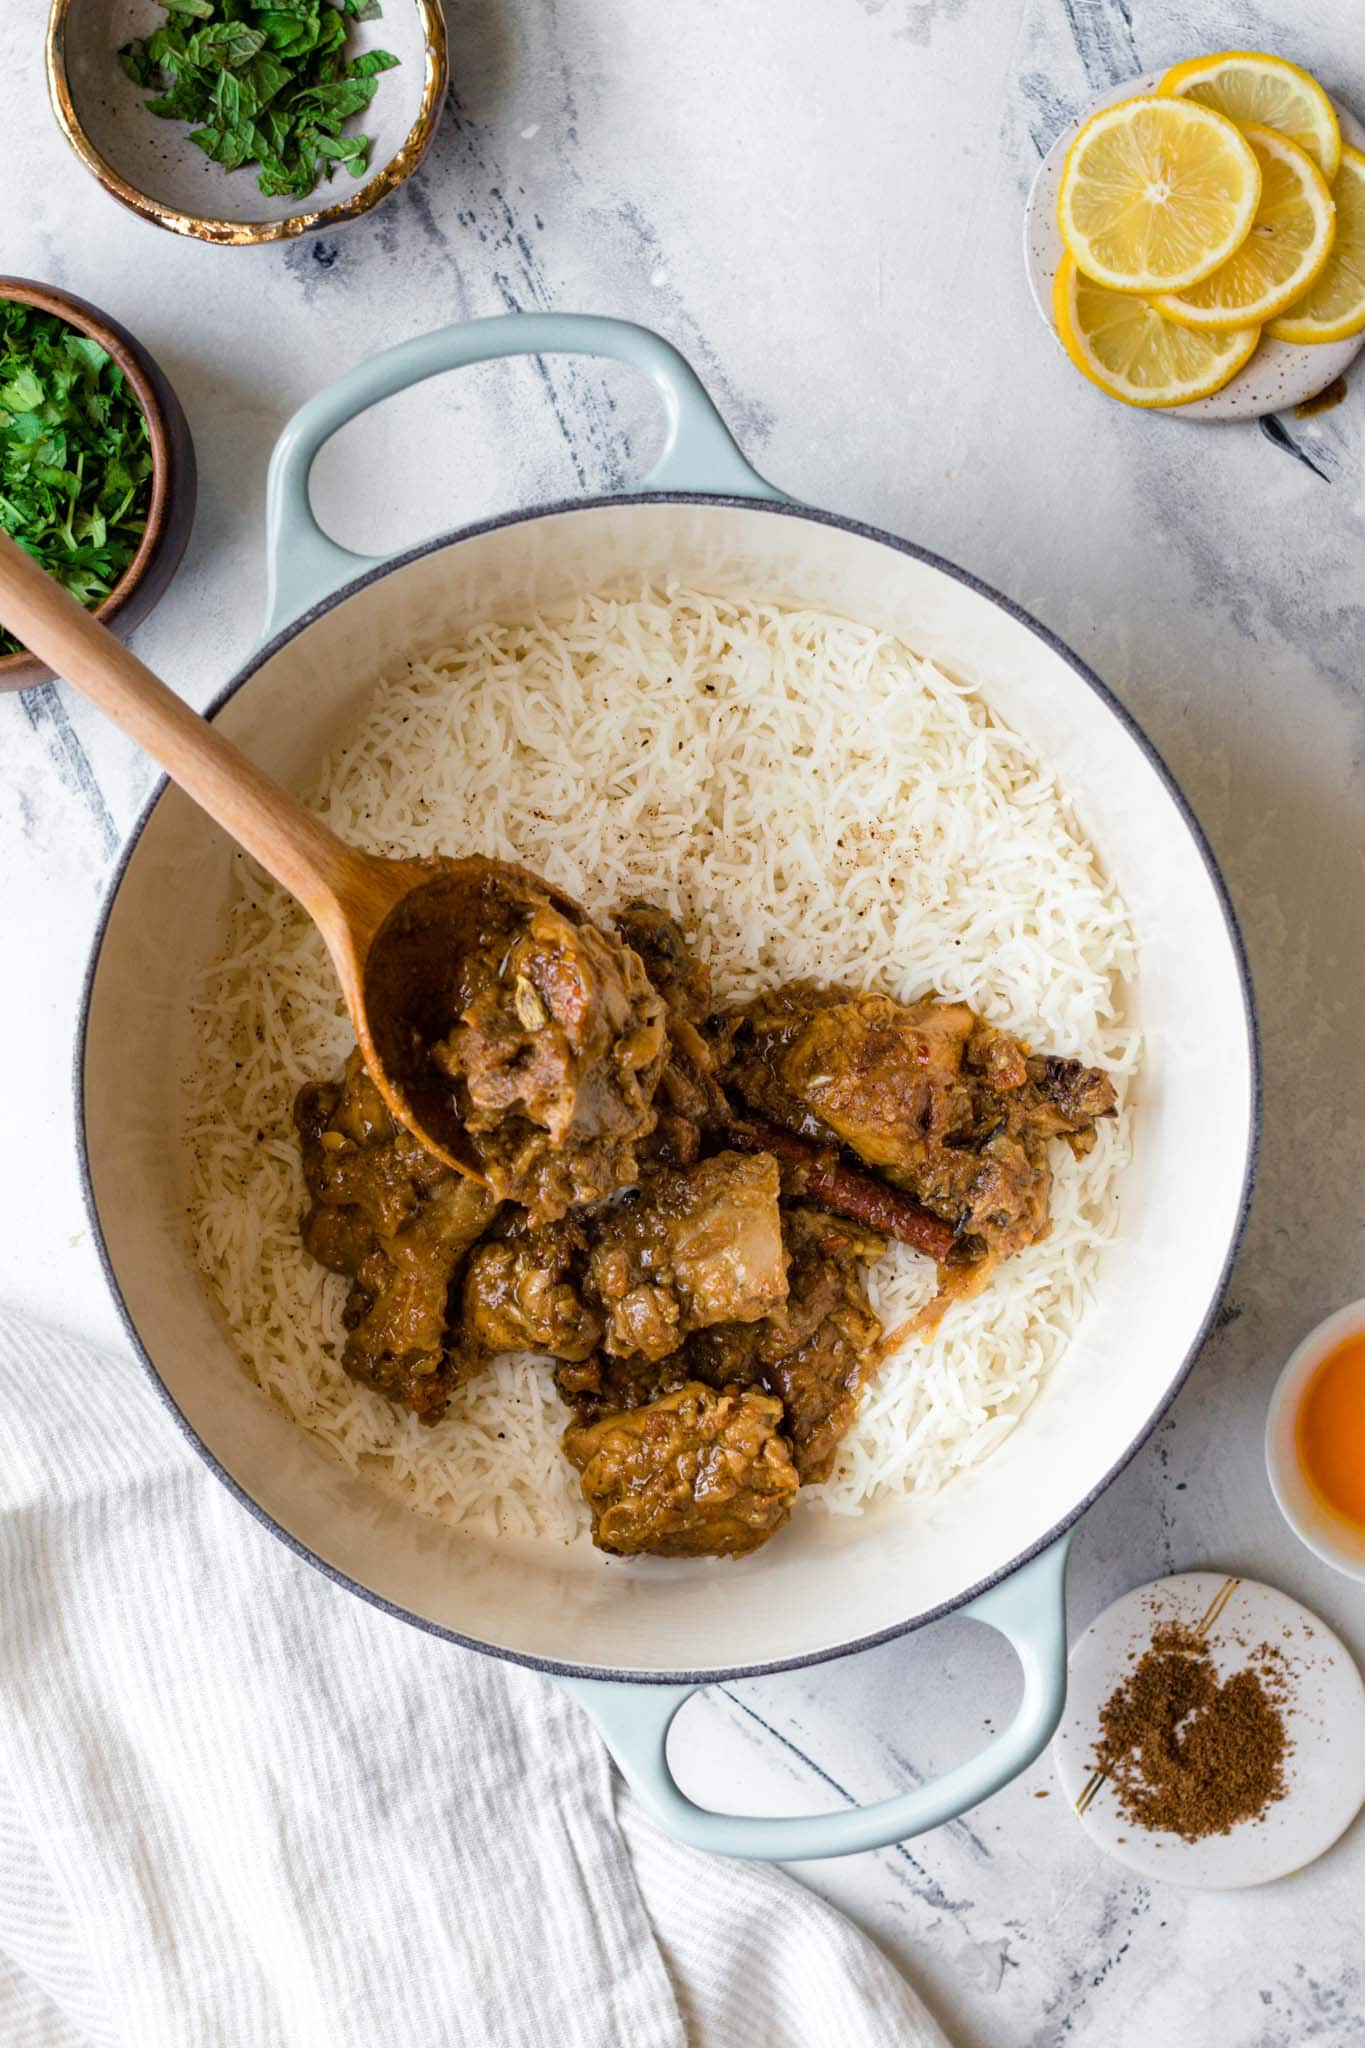
- Prepare the chicken curry.
Prepare the biryani masala (or use store-bought) and marinate the chicken.
Cook the chicken curry. While it’s cooking over low heat, prepare the rice.
- Parboil the rice.
Bring a pot of water to a boil and parboil the rice. Drain and set aside.
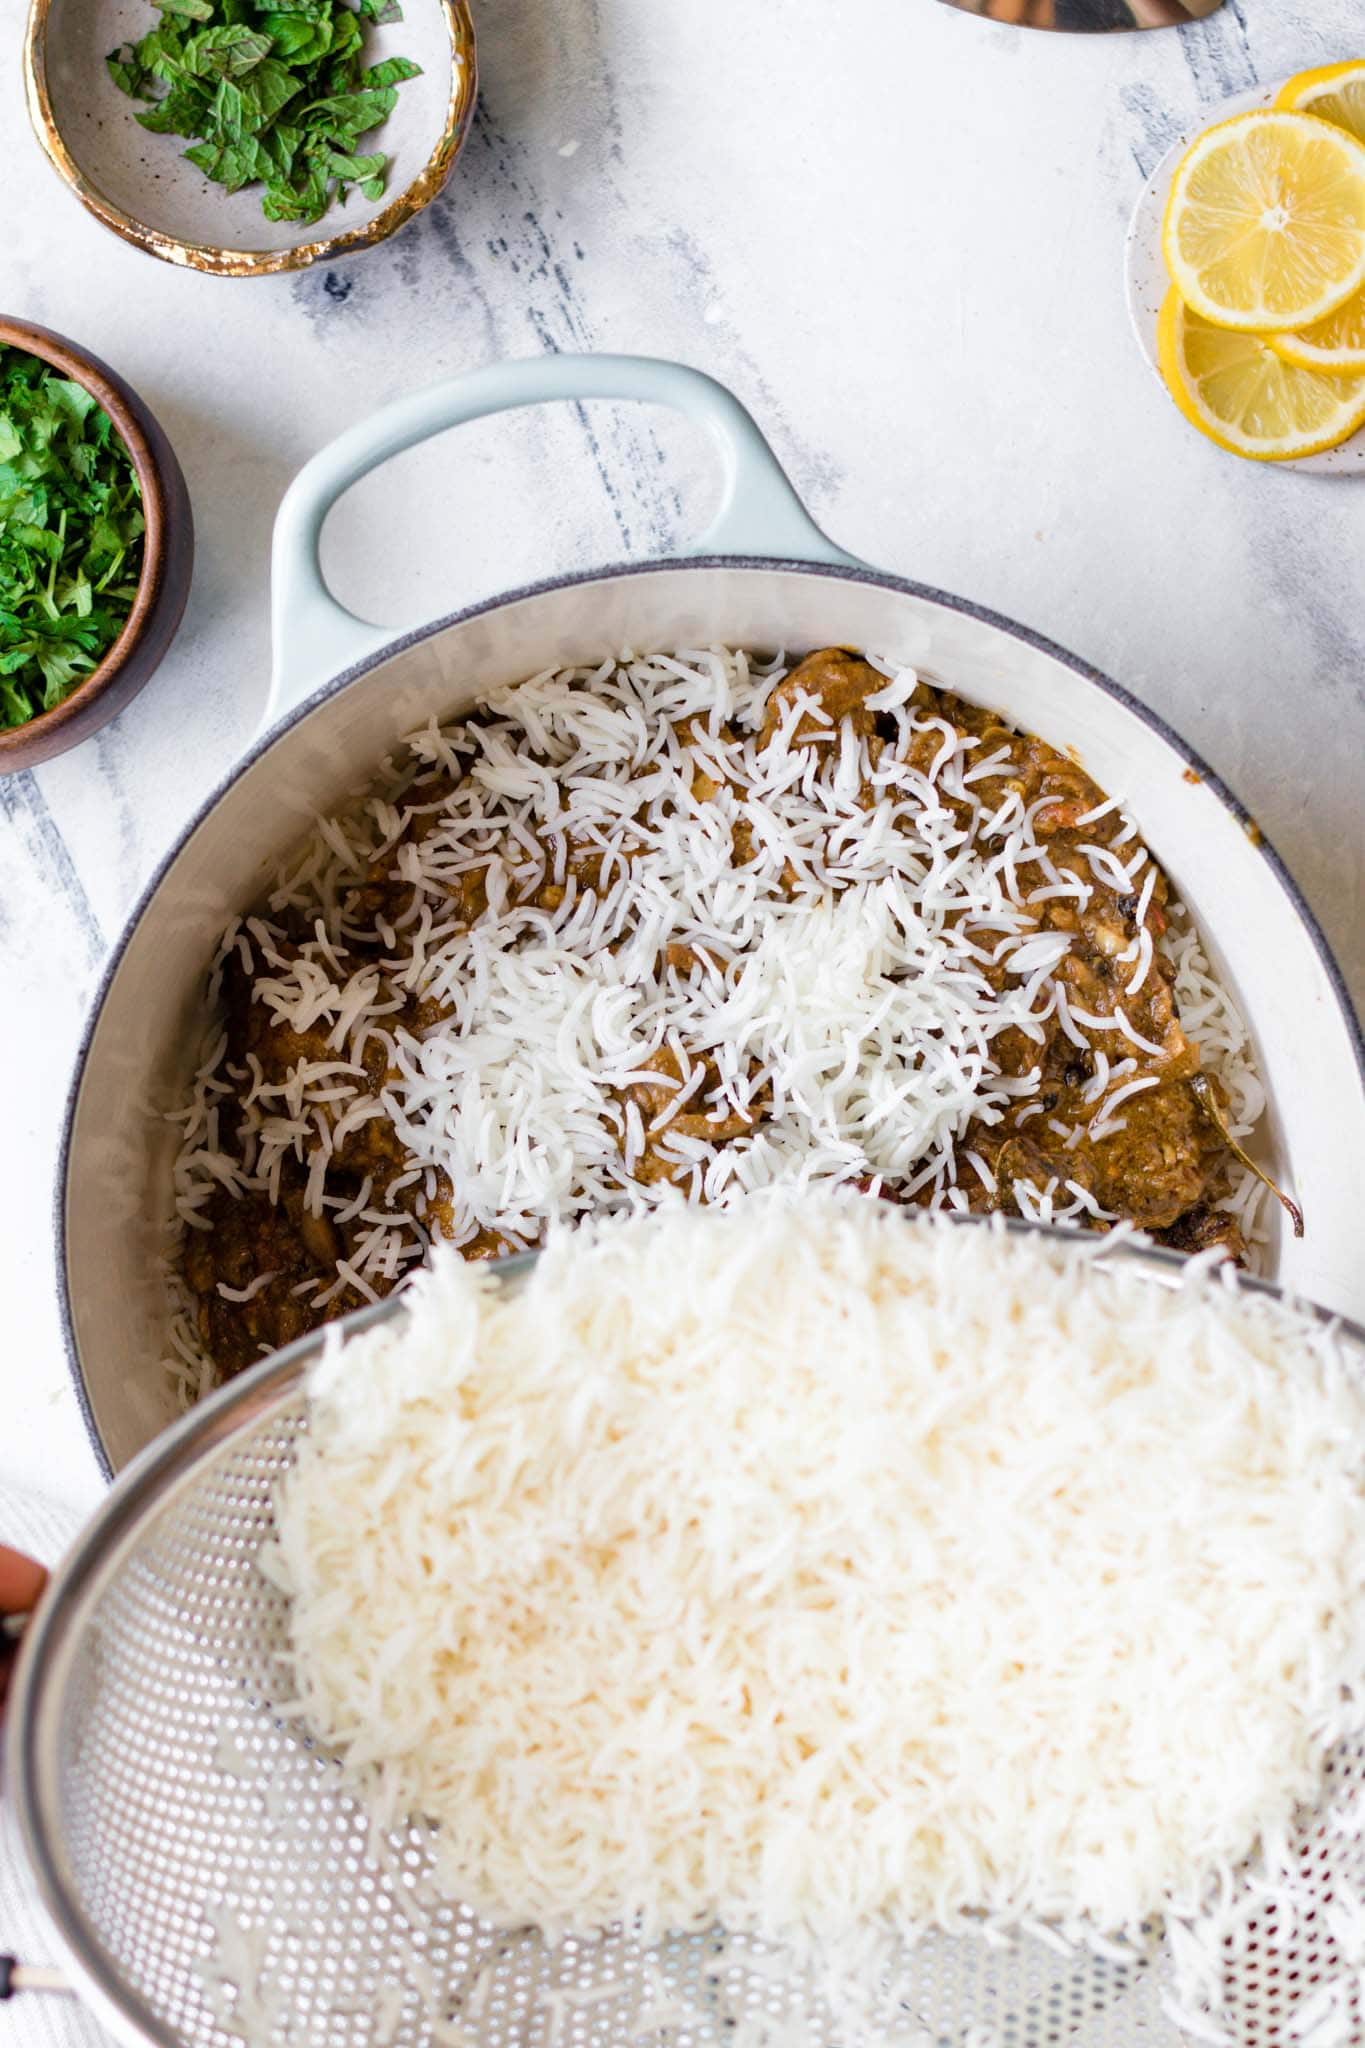
Layer half of the rice, all of the chicken, and then the remaining rice on top. Add the finishing touches.
- Bring it all together for a final steam (‘dum‘).
Allow steam to develop, then lower the heat and let the flavors meld.
Biryani Masala
Pakistani biryani is heavy on spice (and flavor!), and is often made with biryani masala, or simply put, a medley of spices that come together to give it a distinct, masaledar (or spice-laden) taste.
I recommend you use the biryani masala recipe below (all you need is a good spice grinder and a few extra whole spices). If you’d prefer not to, you can substitute your favorite store-bought biryani masala. This recipe has been tested and works great with Bombay Biryani Masala.
To make Biryani masala for this recipe, combine the following ingredients in a spice grinder and process until mostly smooth. Makes ~2 tbsp, which is the exact quantity you’ll need for this recipe.
- 1 medium dried bay leaf (tez patta)
- 2 dried button red chili peppers (sukhi lal mirch)
- 1 small whole mace (javetri)
- 1 2-inch cinnamon stick (daarchini)
- 4-5 whole cloves (loung)
- 1 black cardamom (badi elaichi)
- 1 star anise (baadiyan)
- 3-4 green cardamom pods (elaichi)
- 1 tsp roasted cumin seeds or black cumin seeds (shahzeera)
- 1/2 tsp black peppercorns (kaali mirch)
- 1/4 tsp fennel (saunf)
- 1/4 tsp carom seeds (ajwain)
Note: You don’t have to have every single one of these spices to make a wonderful biryani. Don’t worry if you’re missing some – it’ll still give your biryani exceptional flavor!
How to make the chicken tender and flavorful
There are 3 components that make the chicken tender and deeply flavored:
- Marinate the chicken in spices and yogurt. This infuses the chicken with noticeable flavor. Ideally, marinate overnight or for at least a couple hours, but I tested and found that it’s still very tasty if you marinate just before making the biryani.
- Take the chicken out of the fridge before you start preparing the biryani. Allowing the chicken to come closer to room temperature helps it cook more evenly and stay tender.
- Lastly, after sautéing the chicken in the hot oil, add water and allow the chicken to simmer gently, covered, over low heat.
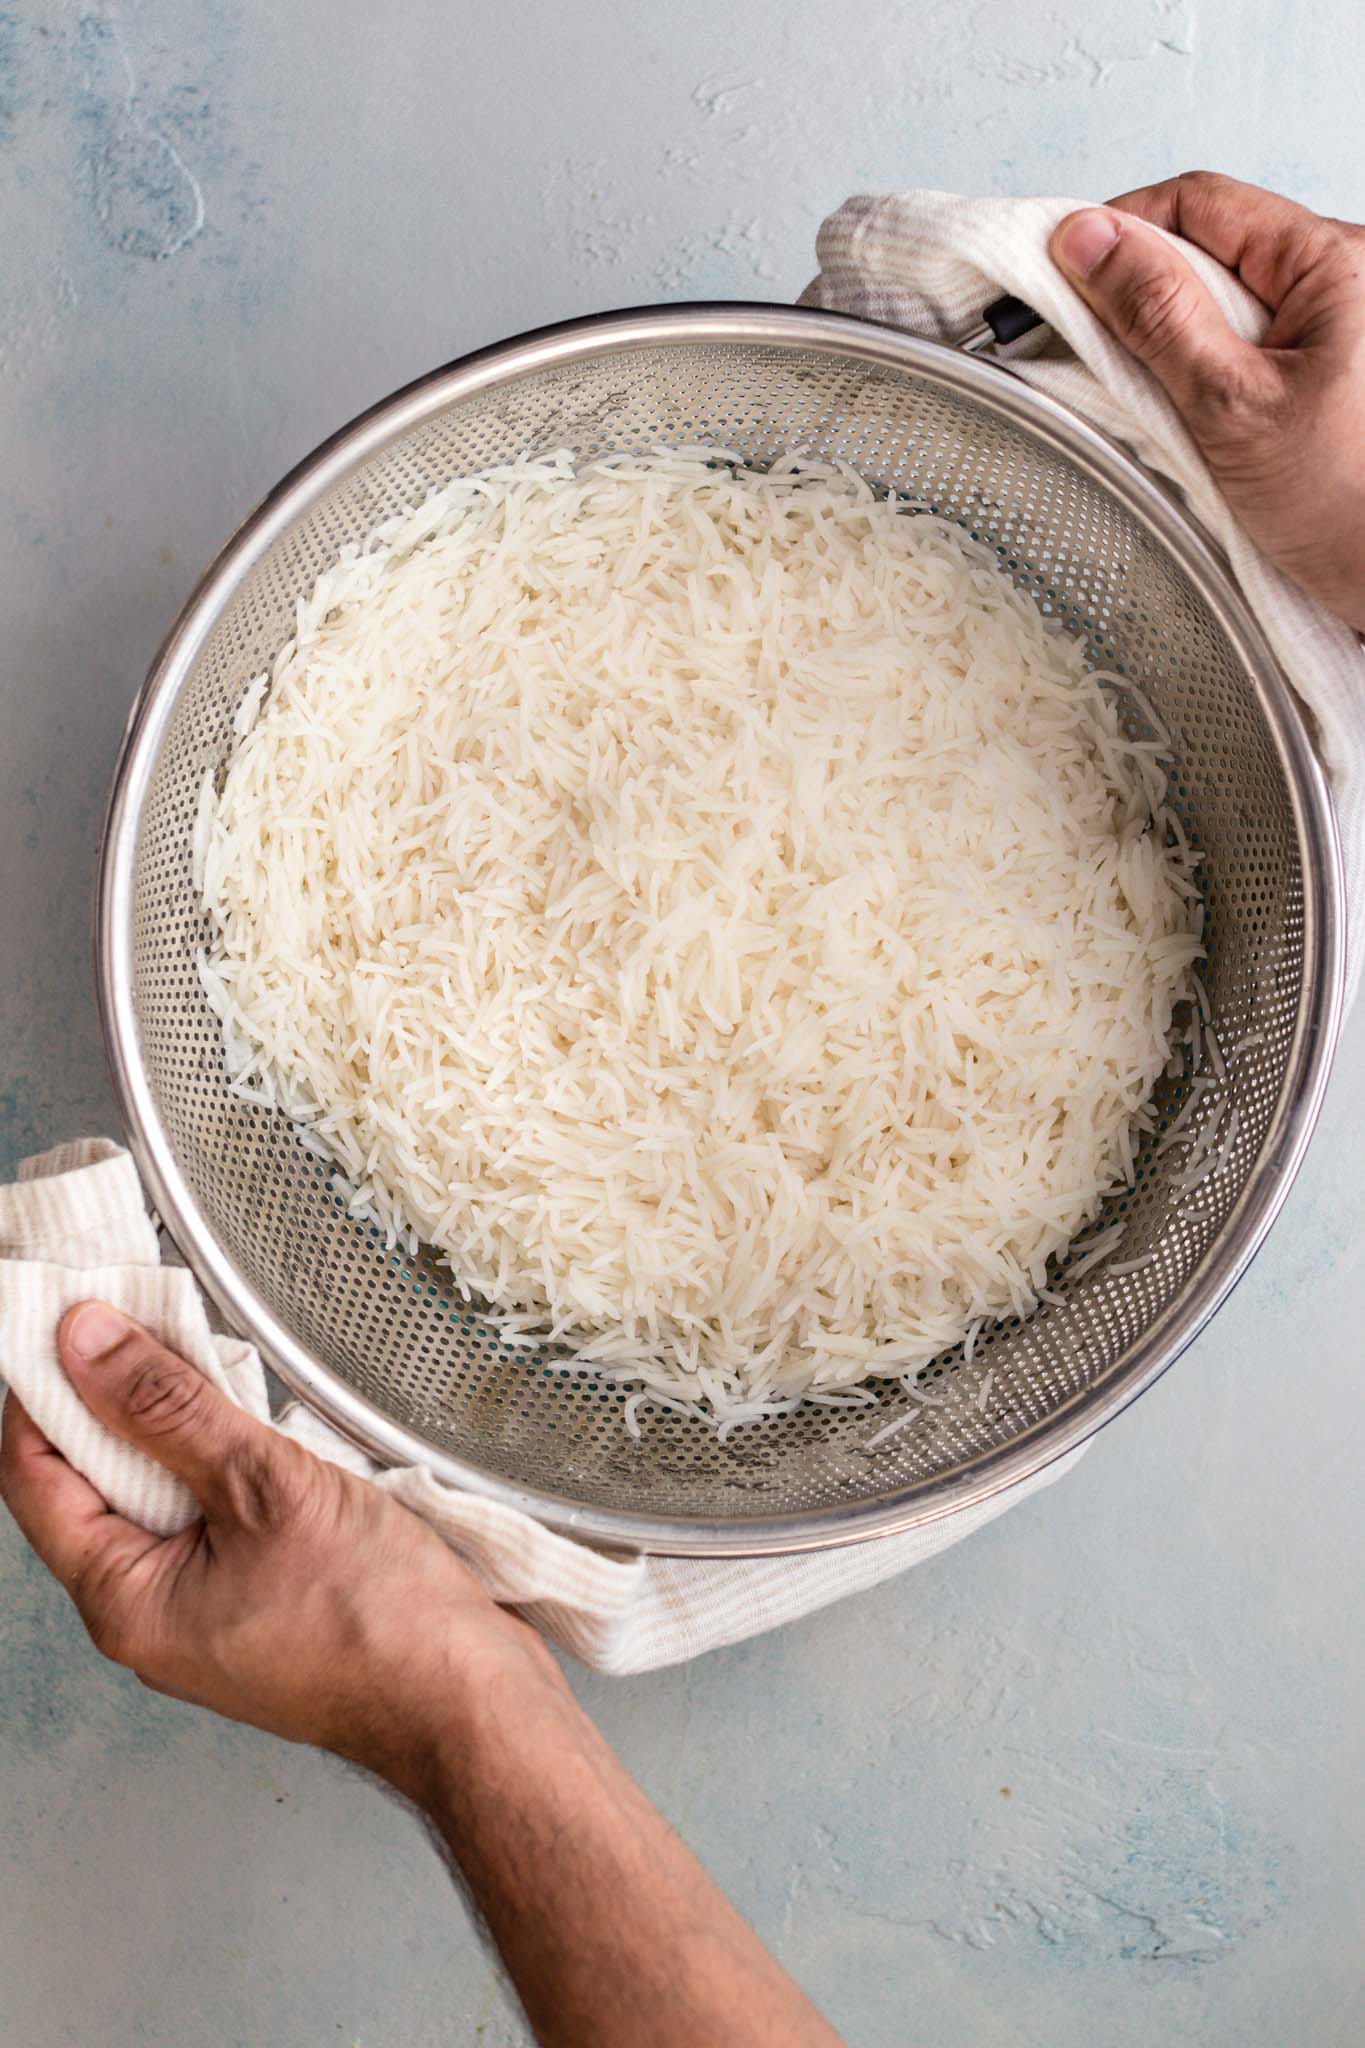
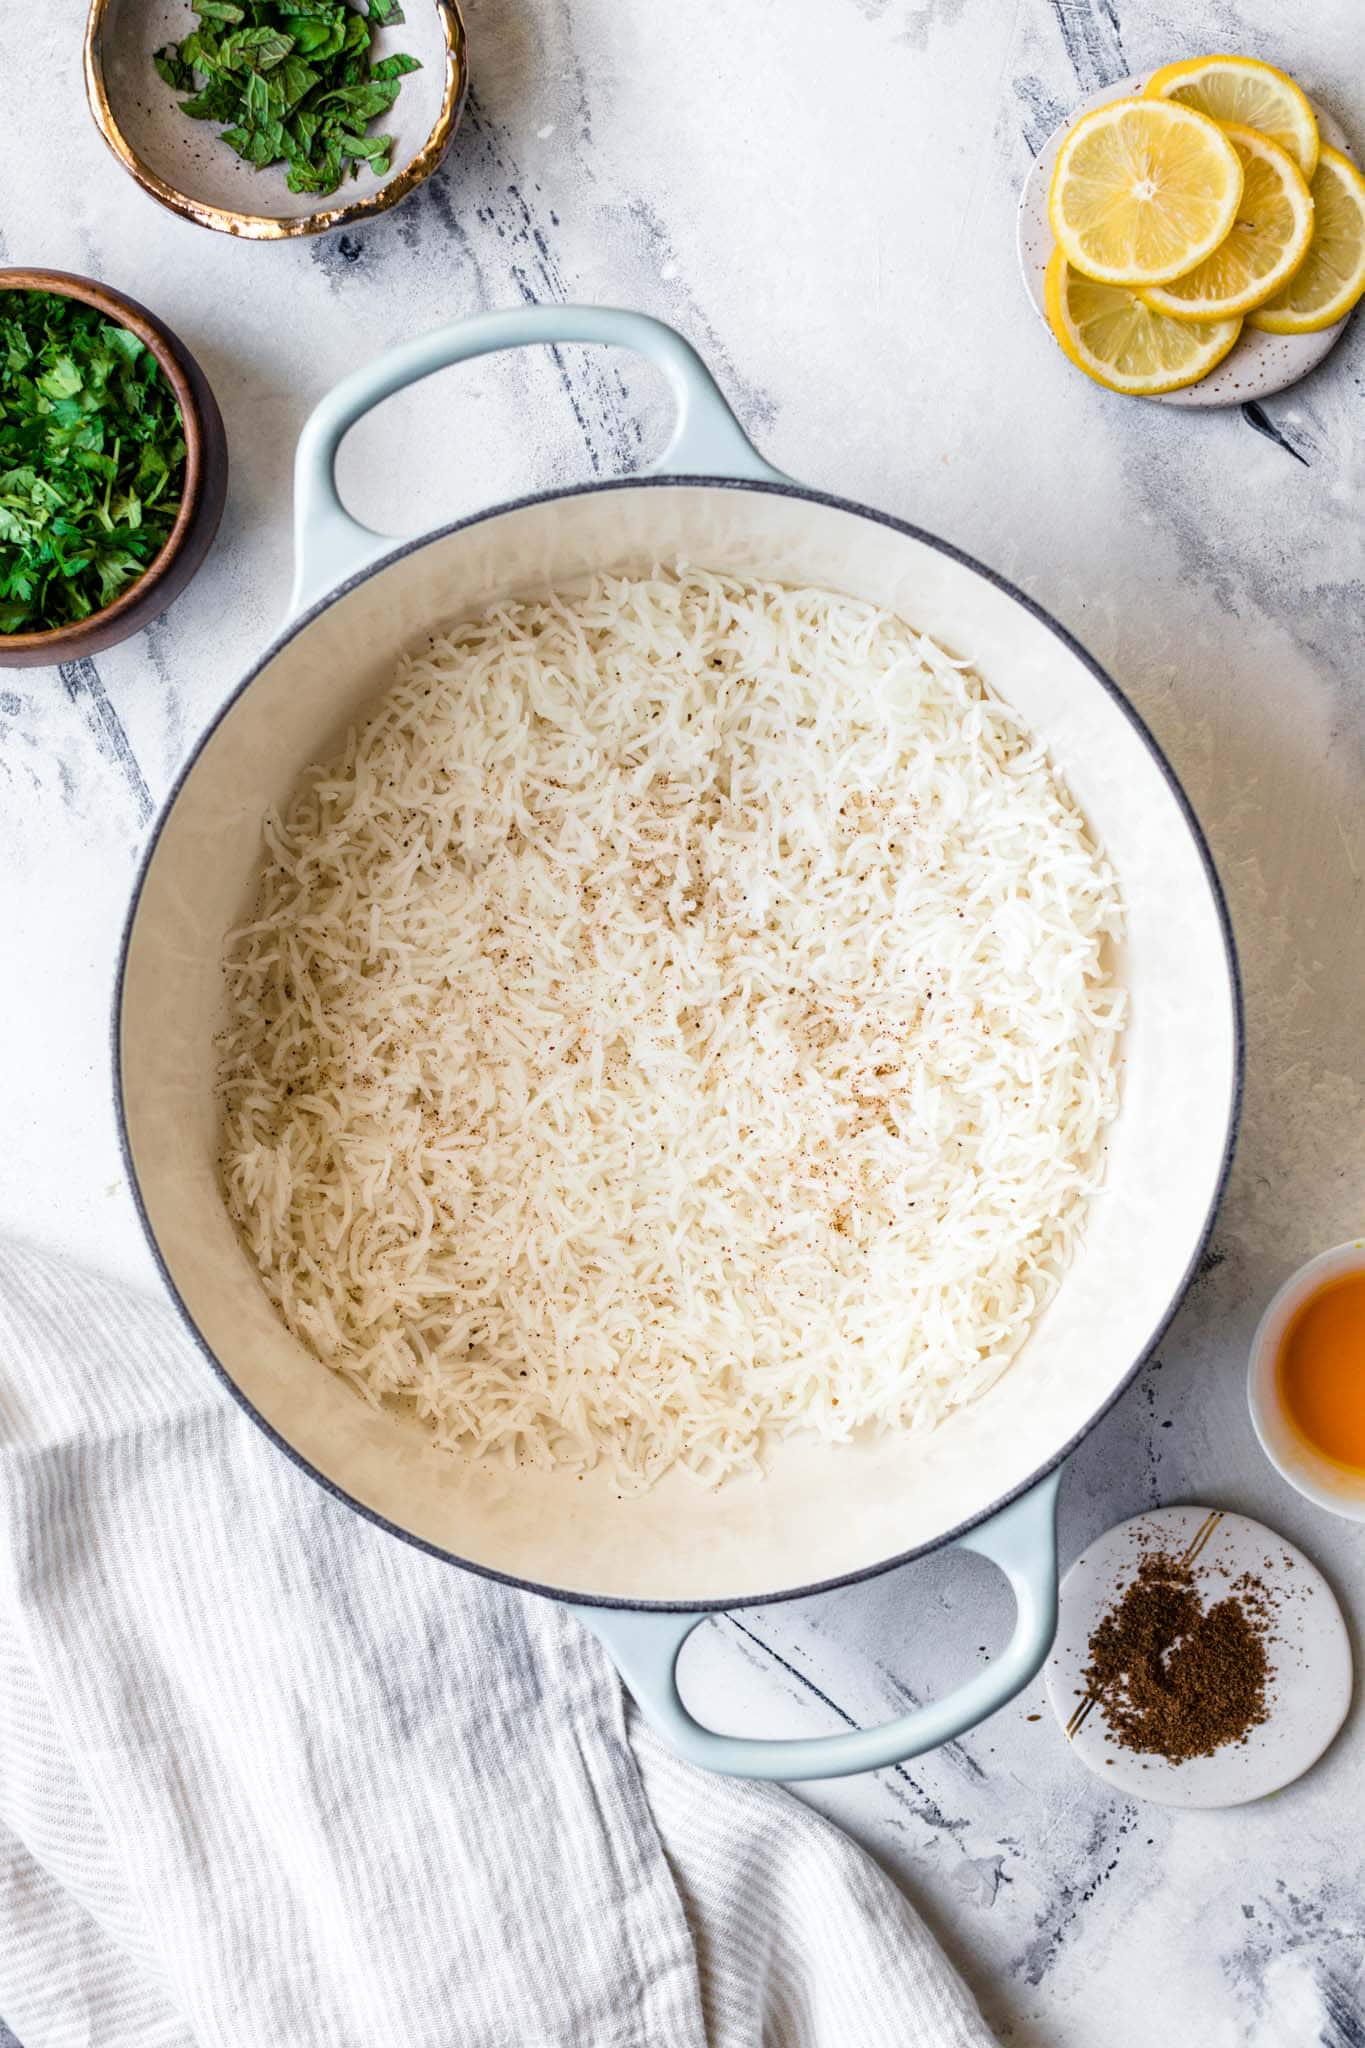
How to parboil the rice to ensure fluffy rice in Biryani
Identifying doneness can be confusing, so I’ve simplified it by giving time parameters to take the guesswork out of boiling.
If you’re using the recommended aged, long-grain basmati rice, you’ll need to boil for 5 minutes. If you’re using newly harvested basmati rice often found in American grocery stores, it’ll require a shorter boiling time (around 4 minutes).
For reference, here’s how my rice acts minute-to-minute:
- At 3 minutes, the rice still has a raw center.
- At 4 minutes, the center has mostly cooked, but the rice kernel is still tough.
- Around 5 minutes, the rice starts to swell and the rice is just-cooked. In between 5 minutes and 5:30 seconds is when it’s ideal to stop boiling the rice.
- At 6 minutes, the rice is cooked, but starts to break easily without getting mushy.
- In between 7-8 minutes, the rice gets mushy once pressed between your fingers. This is a sign that it’s overcooked and is more likely to break during the ‘dum’ stage.
Tip: Drain the rice promptly so the hot water doesn’t continue cooking the rice.
Also note that a little overcooked or undercooked rice is not going to ruin your biryani.
Here’s how to fix overcooked or undercooked rice:
- If you overcook your rice:
-Lay the just-boiled rice on a flat tray immediately after boiling to ensure it doesn’t clump together.
-Steam (dum) for a shorter time to avoid breakage. - If you undercook your rice:
-Sprinkle ¼ cup of water on top of the rice during the steam.
-When covering the pot for steaming, use a damp kitchen cloth instead of dry to give extra moisture.
More tips to avoid mushy rice
- While the final chicken curry will have considerable amount of curry or ‘wet masala’, it shouldn’t be watery. As the recipe suggests, sauté out any excess moisture at the end and ensure that the oil has separated from the curry.
- Once the steam (dum) stage is complete, do not stir. Use a rice paddle or small plastic plate to scoop it onto the serving platter.
- Make sure you use the right kind of rice. Aged, long-grain basmati rice is naturally fluffier and perfect for biryani. Another good option is Sella Basmati rice, which is steamed while still in its husk. This variety is sturdier and can withstand a bit of overboiling better than traditional basmati.
- A bit of acid from lemon or vinegar is said to prevent the rice from sticking together.
What is the perfect rice to meat ratio for Biryani?
Determining the right ratio of rice to meat can be tricky. I figured the best way to break this down is with this table:
| Amount of Chicken | Amount of Rice | Servings |
| 2 ½ lb (1130 g) | 3 ½ cups (700 g) | 10-12 |
| 2.2 lb (1 kg – 1000g) | 3 cups | 8-10 |
| 1 ½ lb (680 g) | 2 ¼ cups | 6-8 |
| 1 ¼ lb (587 g) | 1 ¾ cups (350 g) | 4-6 |
| 1 lb (454 g) | 1 ½ cups | 4 |
Note that these are my preferred ratios. Feel free to increase the rice by 1/4 cup if you prefer more rice and less chicken.
How to get the authentic flavor of biryani
A whooping 52% of my email community found getting the taste right to be the most difficult part of making biryani. Here’s what I’ve found:
- A key component in getting the authentic flavor is to use much more spice (whole and ground) than what you would for a typical curry. The chicken marinade and curry should have intense flavor, otherwise it’s likely to mellow out when combined with the rice.
- Leading into this, there should be plenty of curry or ‘wet masala‘ to the chicken.
- Lastly, the steaming (‘dum’) is pivotal in marrying the flavors to give it the distinct biryani taste and aroma. In Rizwan’s words, ‘biryani ka naam dum hai’ (biryani is all about the steaming).
Steaming (‘Dum’) for Chicken biryani
I’ve found Rizwan’s statement to be true. When steam permeates through the rice, spices, herbs, and chicken, it infuses the biryani with so much flavor that each bite is a treat.
What Pot to use for Steaming/Dum
Though you can use any pot or pan you’d like to prepare the chicken and parboil the rice, a Dutch oven or deep pot (at least 5 qt) will be helpful for the steaming (‘dum’) stage.
Unless you’re making larger quantities, don’t worry about buying a special pot for biryani. I’ve tried using a cheap dutch oven with a tava underneath and a cast iron dutch oven and both worked well. Here are a few tips:
- Heavy-bottomed or cast iron dutch ovens take longer to develop steam, but they are better at preventing the rice from sticking to the pot.
- If your pot isn’t heavy bottomed, use a heat diffuser, flat griddle, or tava underneath it to prevent the rice from sticking to the bottom.
- Use a Dutch oven or pot with straight edges. The goal during the steaming stage is to keep the steam inside, and deep, straight edged pots are better at retaining steam.
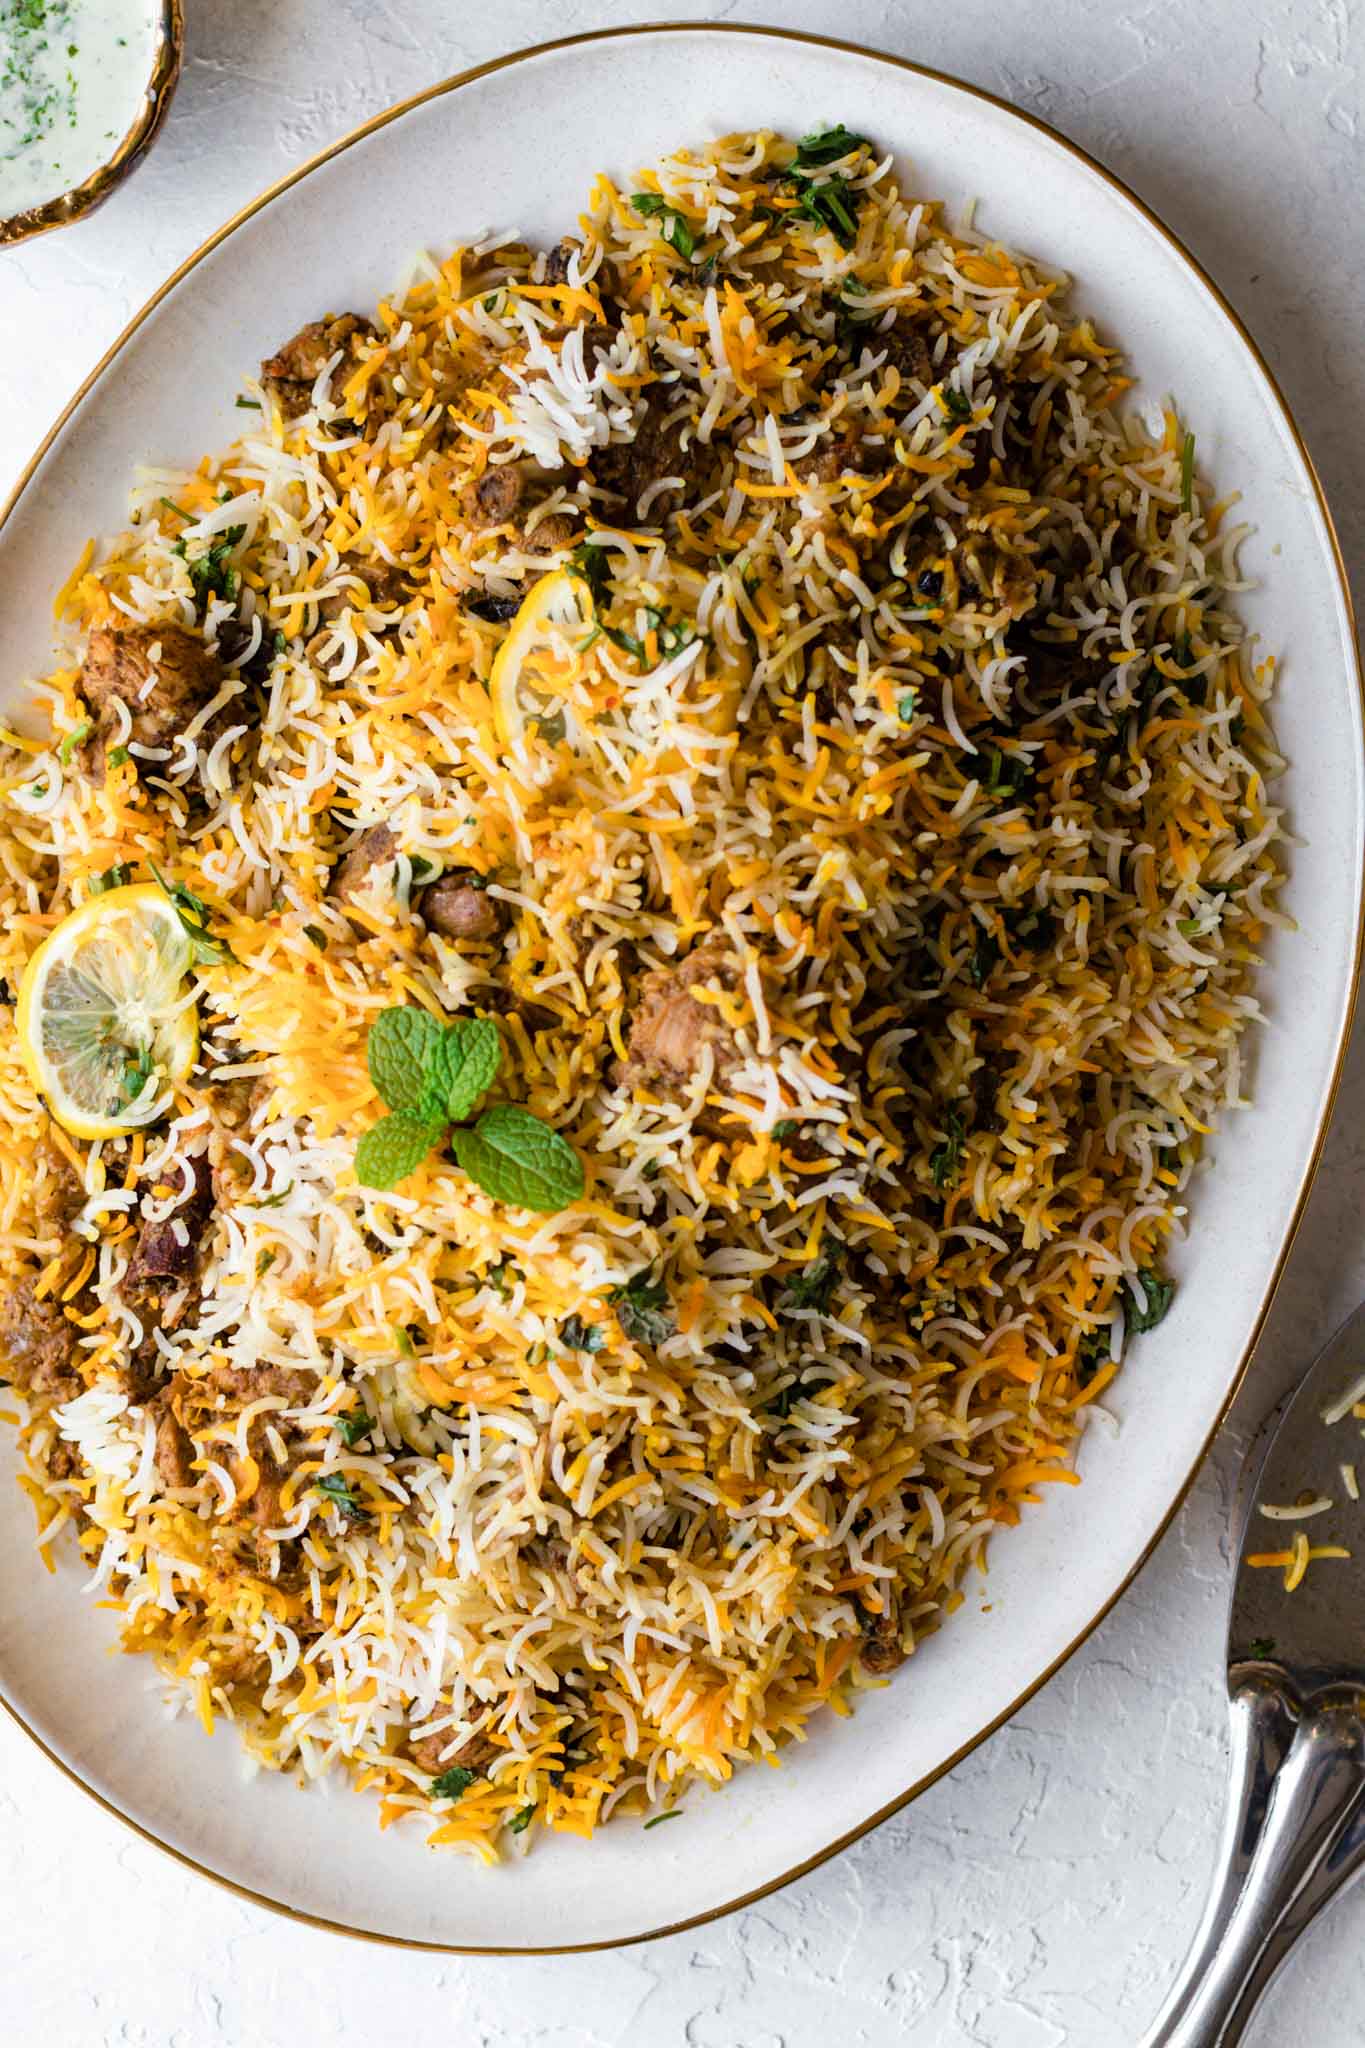
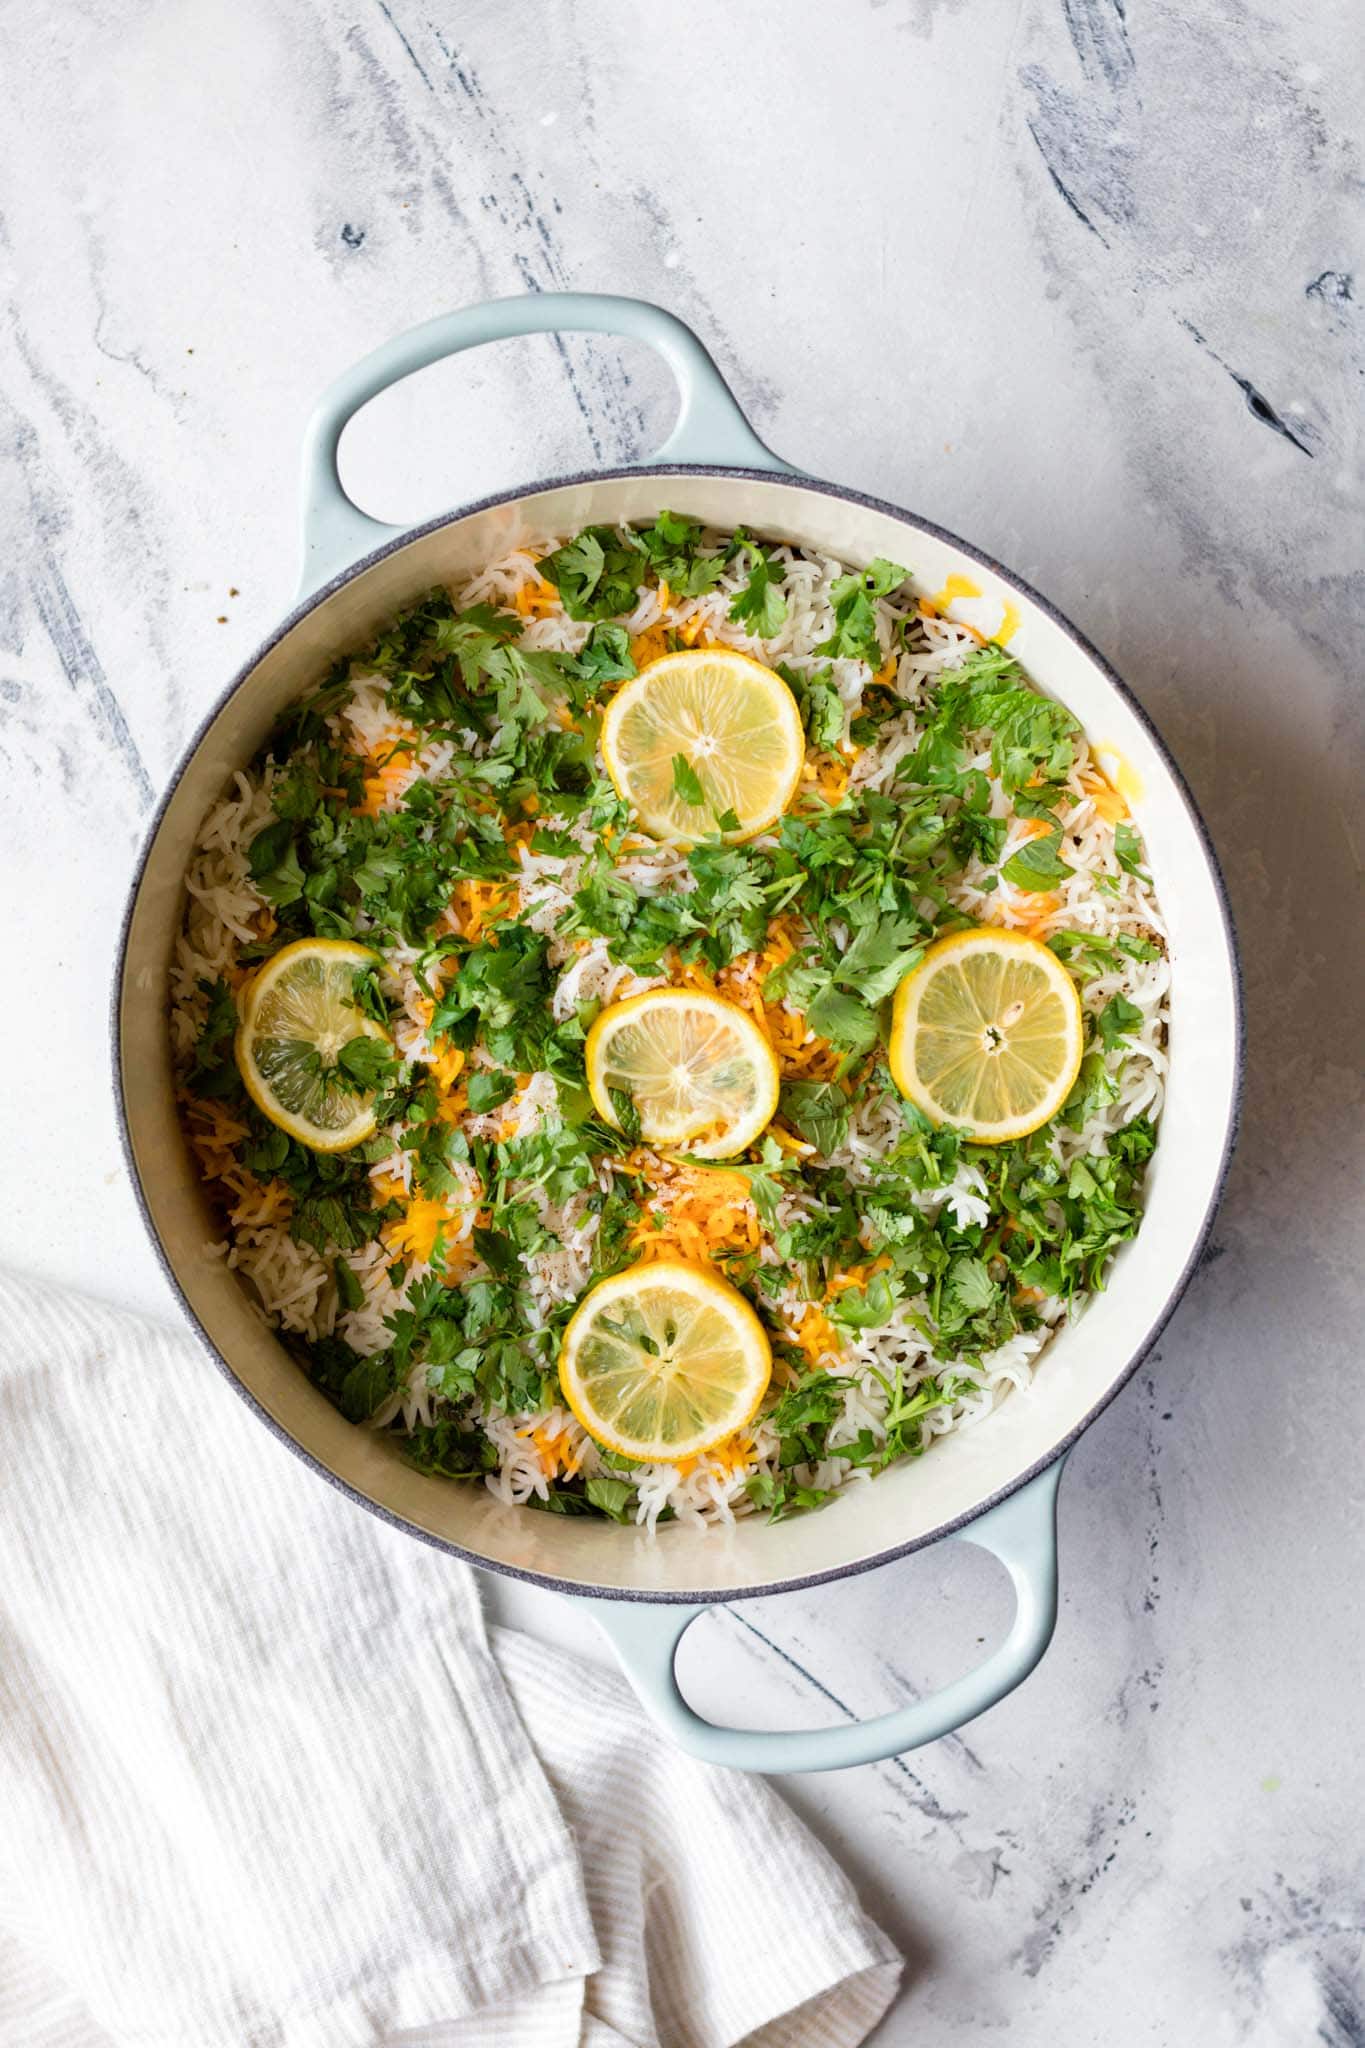
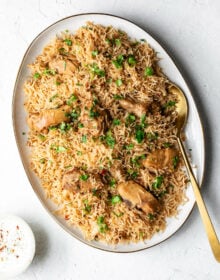
Layering the Chicken Biryani
I’ve kept the layering simple, but you can make it as festive as you’d like by adding sliced tomatoes, fried onions, or green chili peppers in between or on top of the chicken and rice.
Modifications
How to Double the Recipe
I’ve tested this recipe several times with double the quantity. Here’s what’ll change:
- Increase sauté times.
- Use larger pans, especially for steaming (8-10 qt).
- When adding water to cook the chicken (Step 4), instead of doubling and adding 1 full cup, reduce to 3/4 cup of water. The water should cover about 1/3 of the chicken. This makes it easier to sauté out the water after cooking the chicken.
Tip: To double the recipe within the recipe card, simply hover to top right of the ingredients and adjust the recipe by clicking 2x. This will adjust the all the ingredient quantities for you. Note that the quantities in grams will not automatically adjust.
How to make this Biryani with Potatoes
Potatoes in biryani are a point of contention, with responses ranging from “Is it even biryani if it doesn’t have potatoes?” to “With potatoes, it’s pulao.” (For more potato recipes check out my collection of 10 (Aloo) Potato Recipes.)
I thought it’s best for me to explain how to add them and then leave it up to you.
To add potatoes to this recipe, peel and cube 2 small russet potatoes and either 1) add them along with the tomatoes in Step 4 OR 2) fry and cook them separately, then layer them in with the chicken or underneath the rice during the steaming/dum.
Alternative Meats and Cuts
Countless readers have reported success using boneless chicken, lamb, goat, beef, and more. Lamb or goat will require 2 hours to cook, and to compensate for the longer cook time, you’ll need to add more water. If using boneless chicken, add 1/4 cup water instead of 1/2 and cook for 15 minutes. See FAQs for a general cook time table.
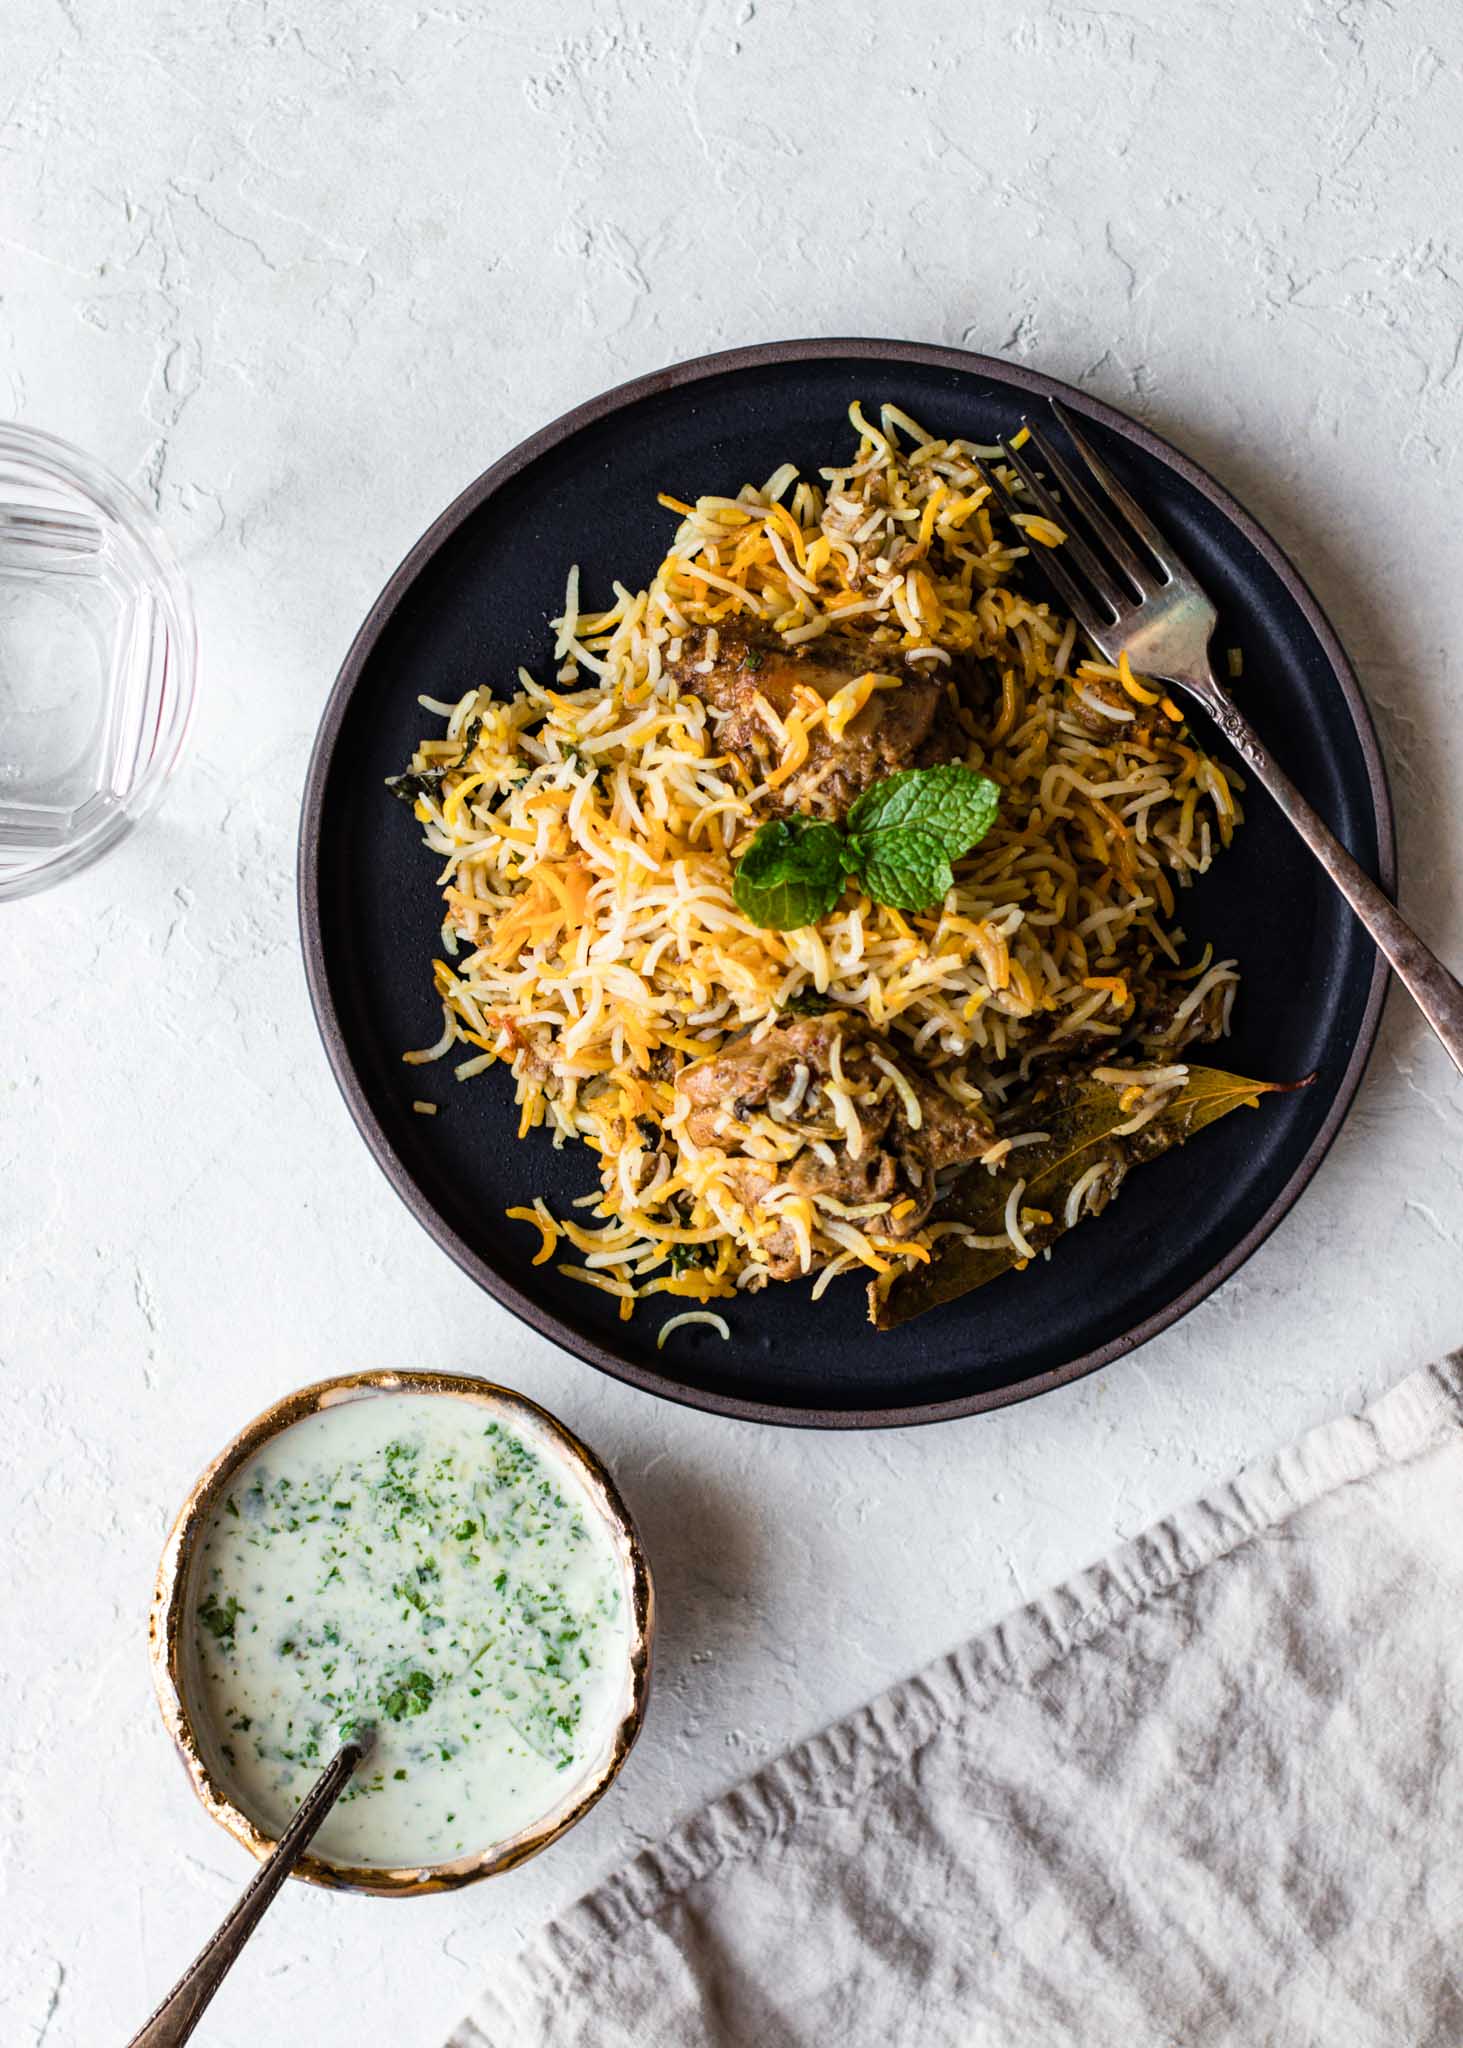
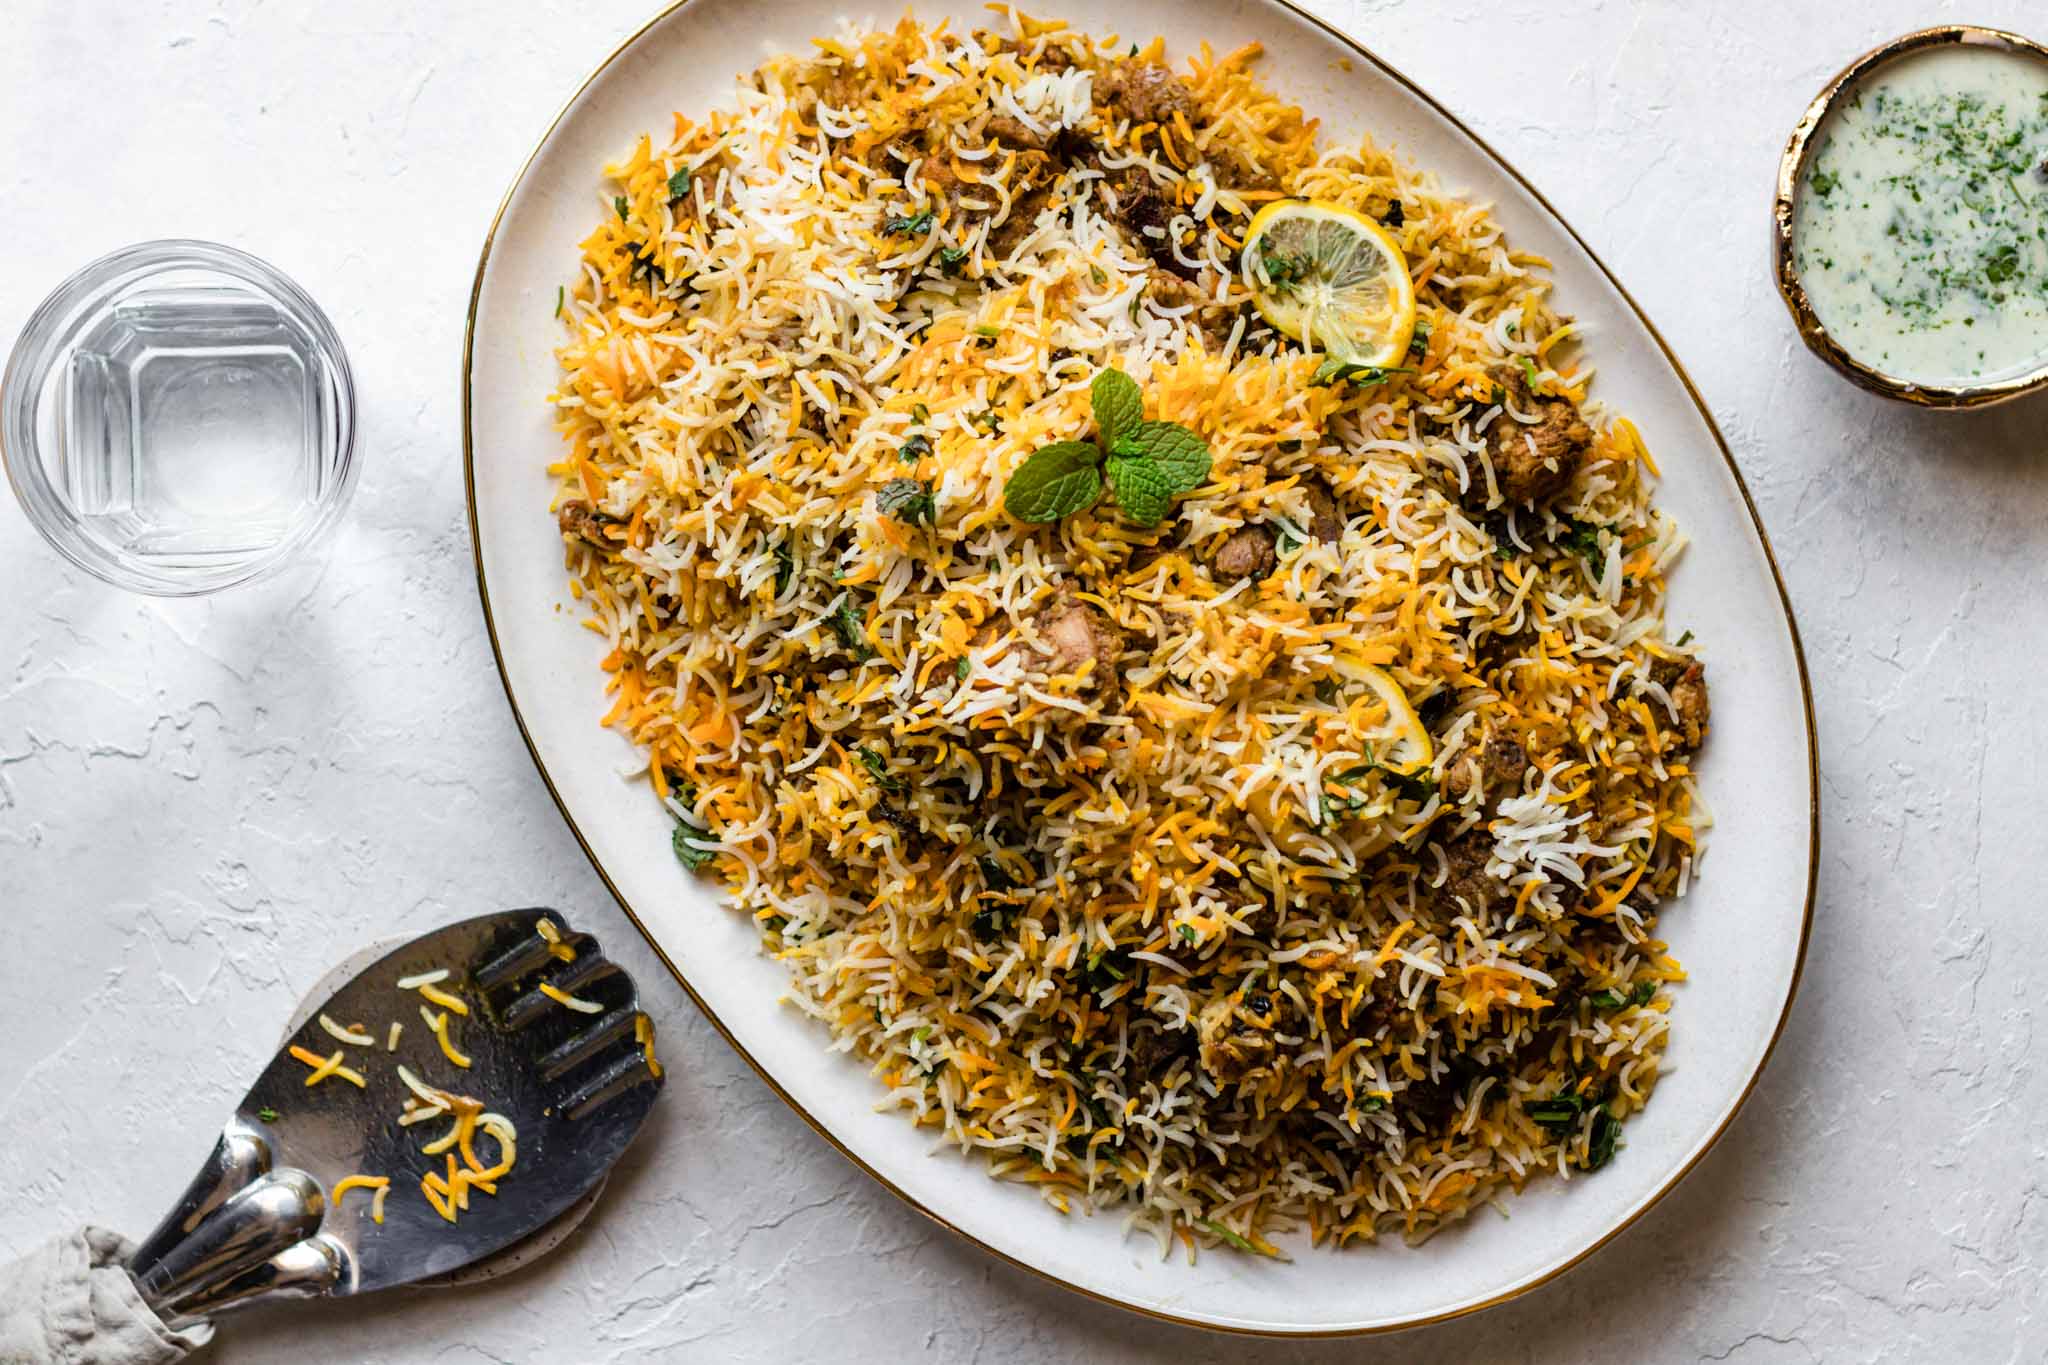
What to Serve with Biryani
Biryani is a stand-alone dish, and a simple or Vegetable Raita or Mint Raita will be enough alongside it. Kachumber Salad or fresh, crunchy vegetables such as sliced onions, carrots, or cucumbers will add crunch and texture.
If you’re serving it for guests, kebabs like Aloo Ki Tikki (Potato Cakes), Chapli Kabab, or Shami Kebab would pair well. If you want to make the spread elaborate, a curry like this Easy Instant Pot Beef Curry (Stew) or Beef Kofta Curry would be wonderful along with naan. Vegetarian options like this Baingan Bharta or Zucchini Curry also work great.
More Pakistani Chicken Recipes you’ll love
- Pakistani Chicken Karahi (Easy & Authentic)
- Authentic Chicken Korma
- Authentic Chicken Curry (Chicken Salan)
- Chicken Jalfrezi
- Chicken Manchurian
Tried this recipe? If you have a minute, please consider leaving a comment telling me how it was! If you have a photo of your dish, please feel free to upload it and share with others. If you’re on Instagram, please tag me so I can see your creations. I truly love hearing from you. Thank you!
Pakistani Chicken Biryani (The BEST!)
Watch the Video
Ingredients
- 1 1/4 lbs (567 g) bone-in, cut up, skinless chicken, cleaned and excess skin removed
Marinade
- 1/2 cup (115 g) plain whole milk yogurt
- 1 tbsp neutral oil
- 2 tbsp biryani masala (recipe in post), or sub store-bought biryani masala
- 1 tsp coriander powder
- 1/2 tsp cumin powder
- 1/2-1 tsp red chili powder, start with 1/2 tsp if using store-bought biryani masala
- 1/4 tsp turmeric powder
- 1/4 tsp nutmeg powder
- pinch cane sugar, omit if using store-bought biryani masala
- 2 tsp kosher salt, start with 1 ¼ tsp if using store-bought biryani masala
Whole Spices
- 3 medium dried bay leaves, (tez patta)
- 5-6 whole cloves, (loung)
- 4-5 whole black cardamoms, (badi elaichi)
- 6 star anise, (badiyaan)
- 6 green cardamom pods, (elaichi)
- 2 3-inch cinnamon sticks, (daarchini)
- 3/4 tsp cumin seeds, (zeera)
- 1/2 tsp whole black peppercorns, (kaali mirch)
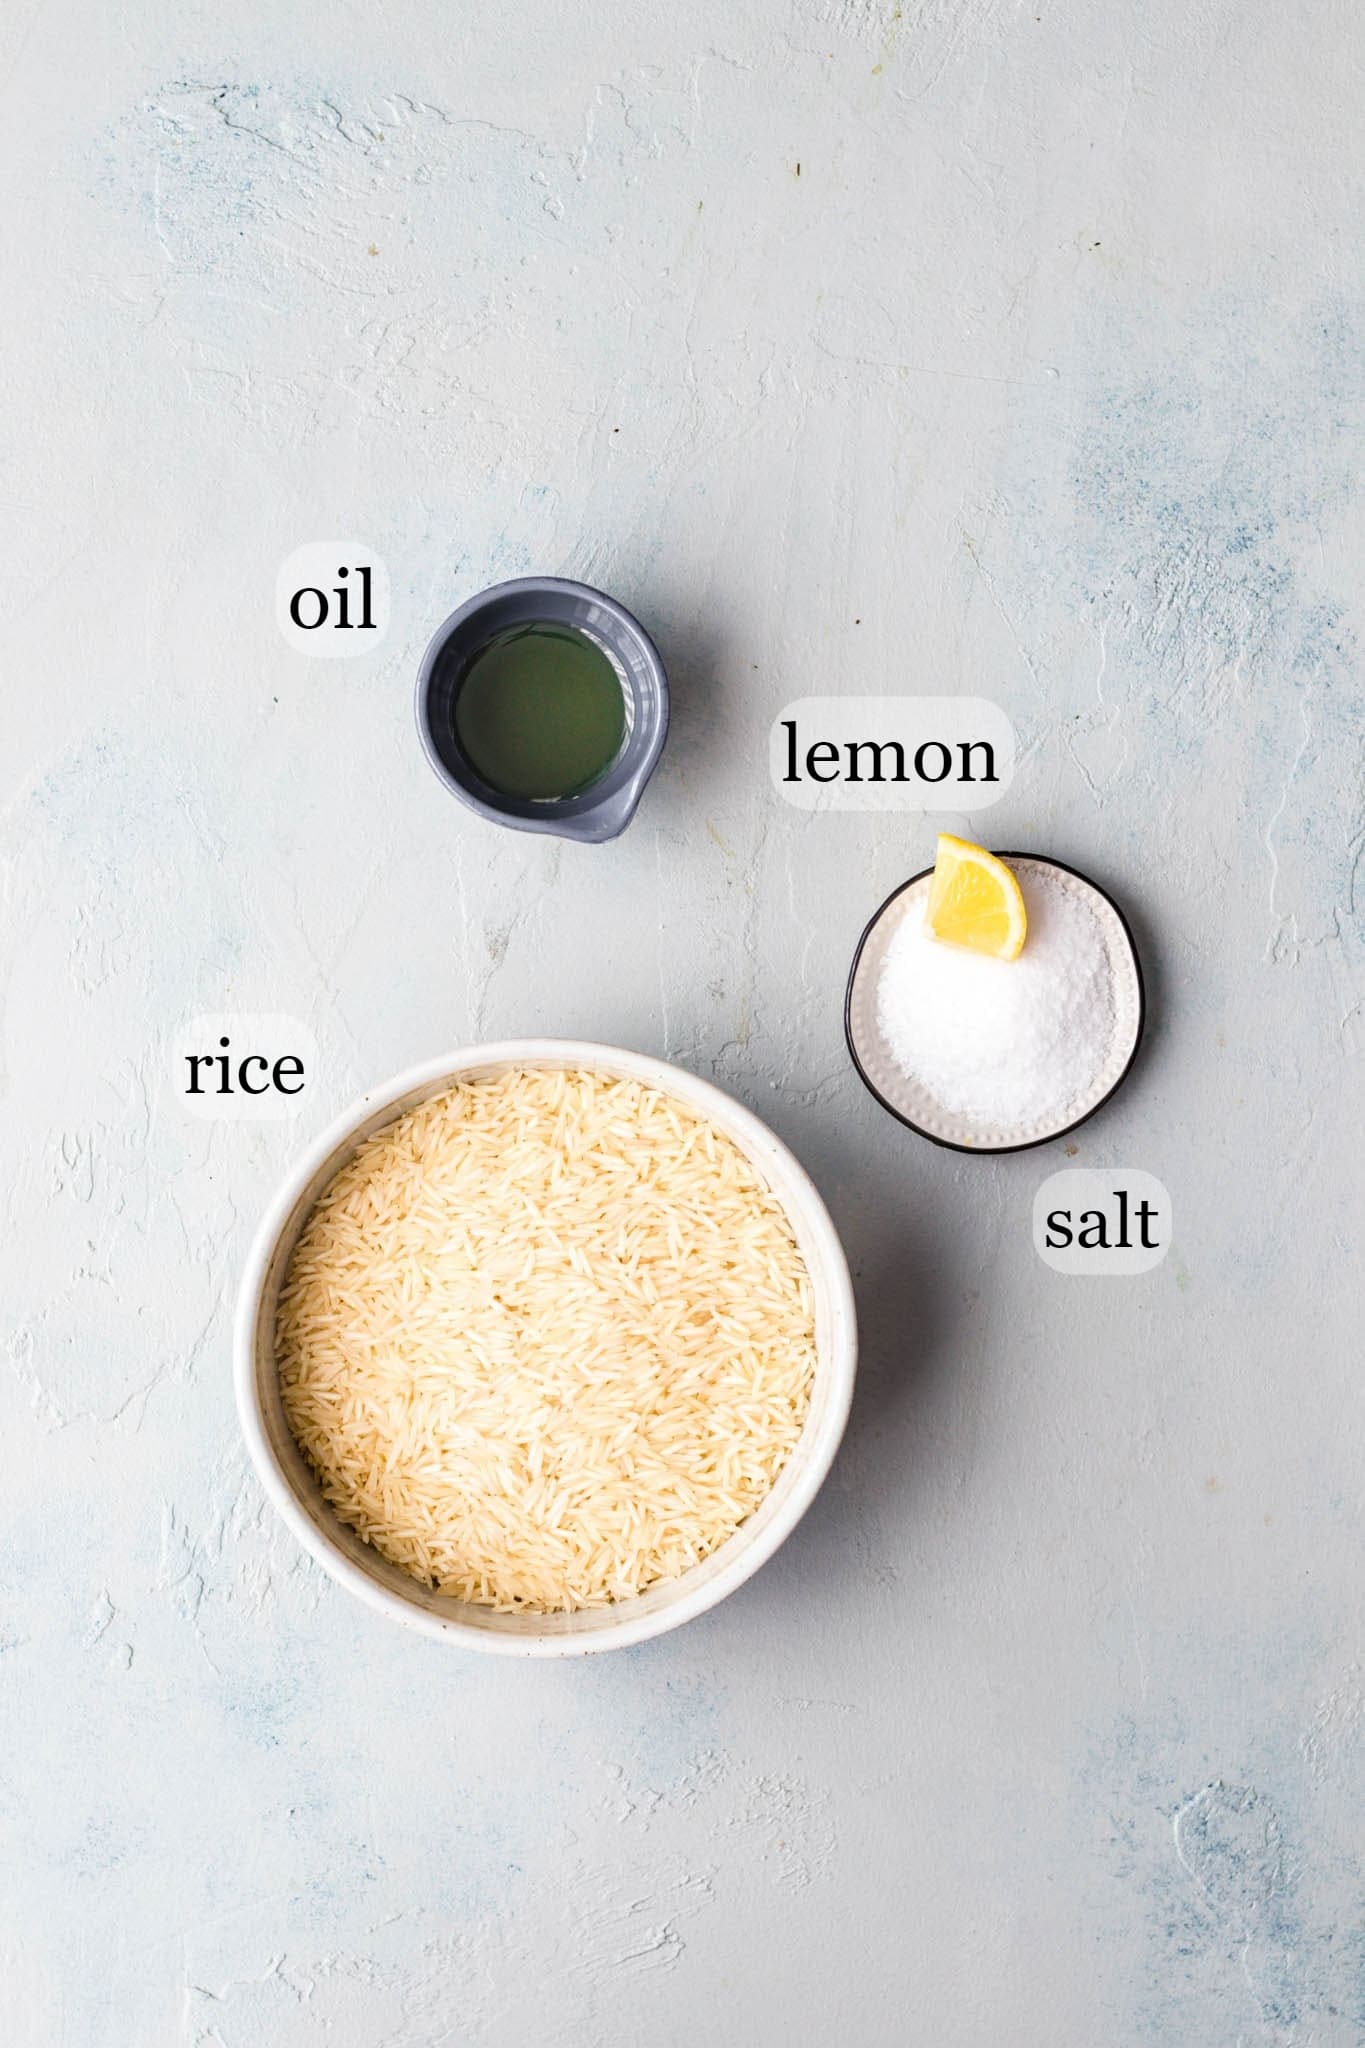
Parboiled Rice
- 1 3/4 cups (~325-350 g) aged, long grain basmati rice
- 1 1/2 tbsp kosher salt
- 1 tbsp oil
- 1 tsp lemon juice or vinegar
Biryani
- 1/4 cup neutral oil, plus more as needed
- 2 tbsp ghee, or sub butter
- 2 (~400 g) medium yellow onions, thinly sliced or finely chopped
- 6-8 (1 tbsp heaped) garlic cloves , crushed
- 1- inch (1 tbsp heaped) ginger, crushed
- 1 (75-80 g) small tomato, finely chopped
- 1-2 small green chili peppers (such as Thai or Serrano), chopped
- 5 dried plums , (alu bukhara)
- 1/3 – 1/2 tsp kosher salt
- 1 tsp garam masala, may omit if using store-bought biryani masala
- 1/2 tsp red chili flakes, optional
- 1 tsp kewra essence, depending on strength
- 1 tsp lemon juice
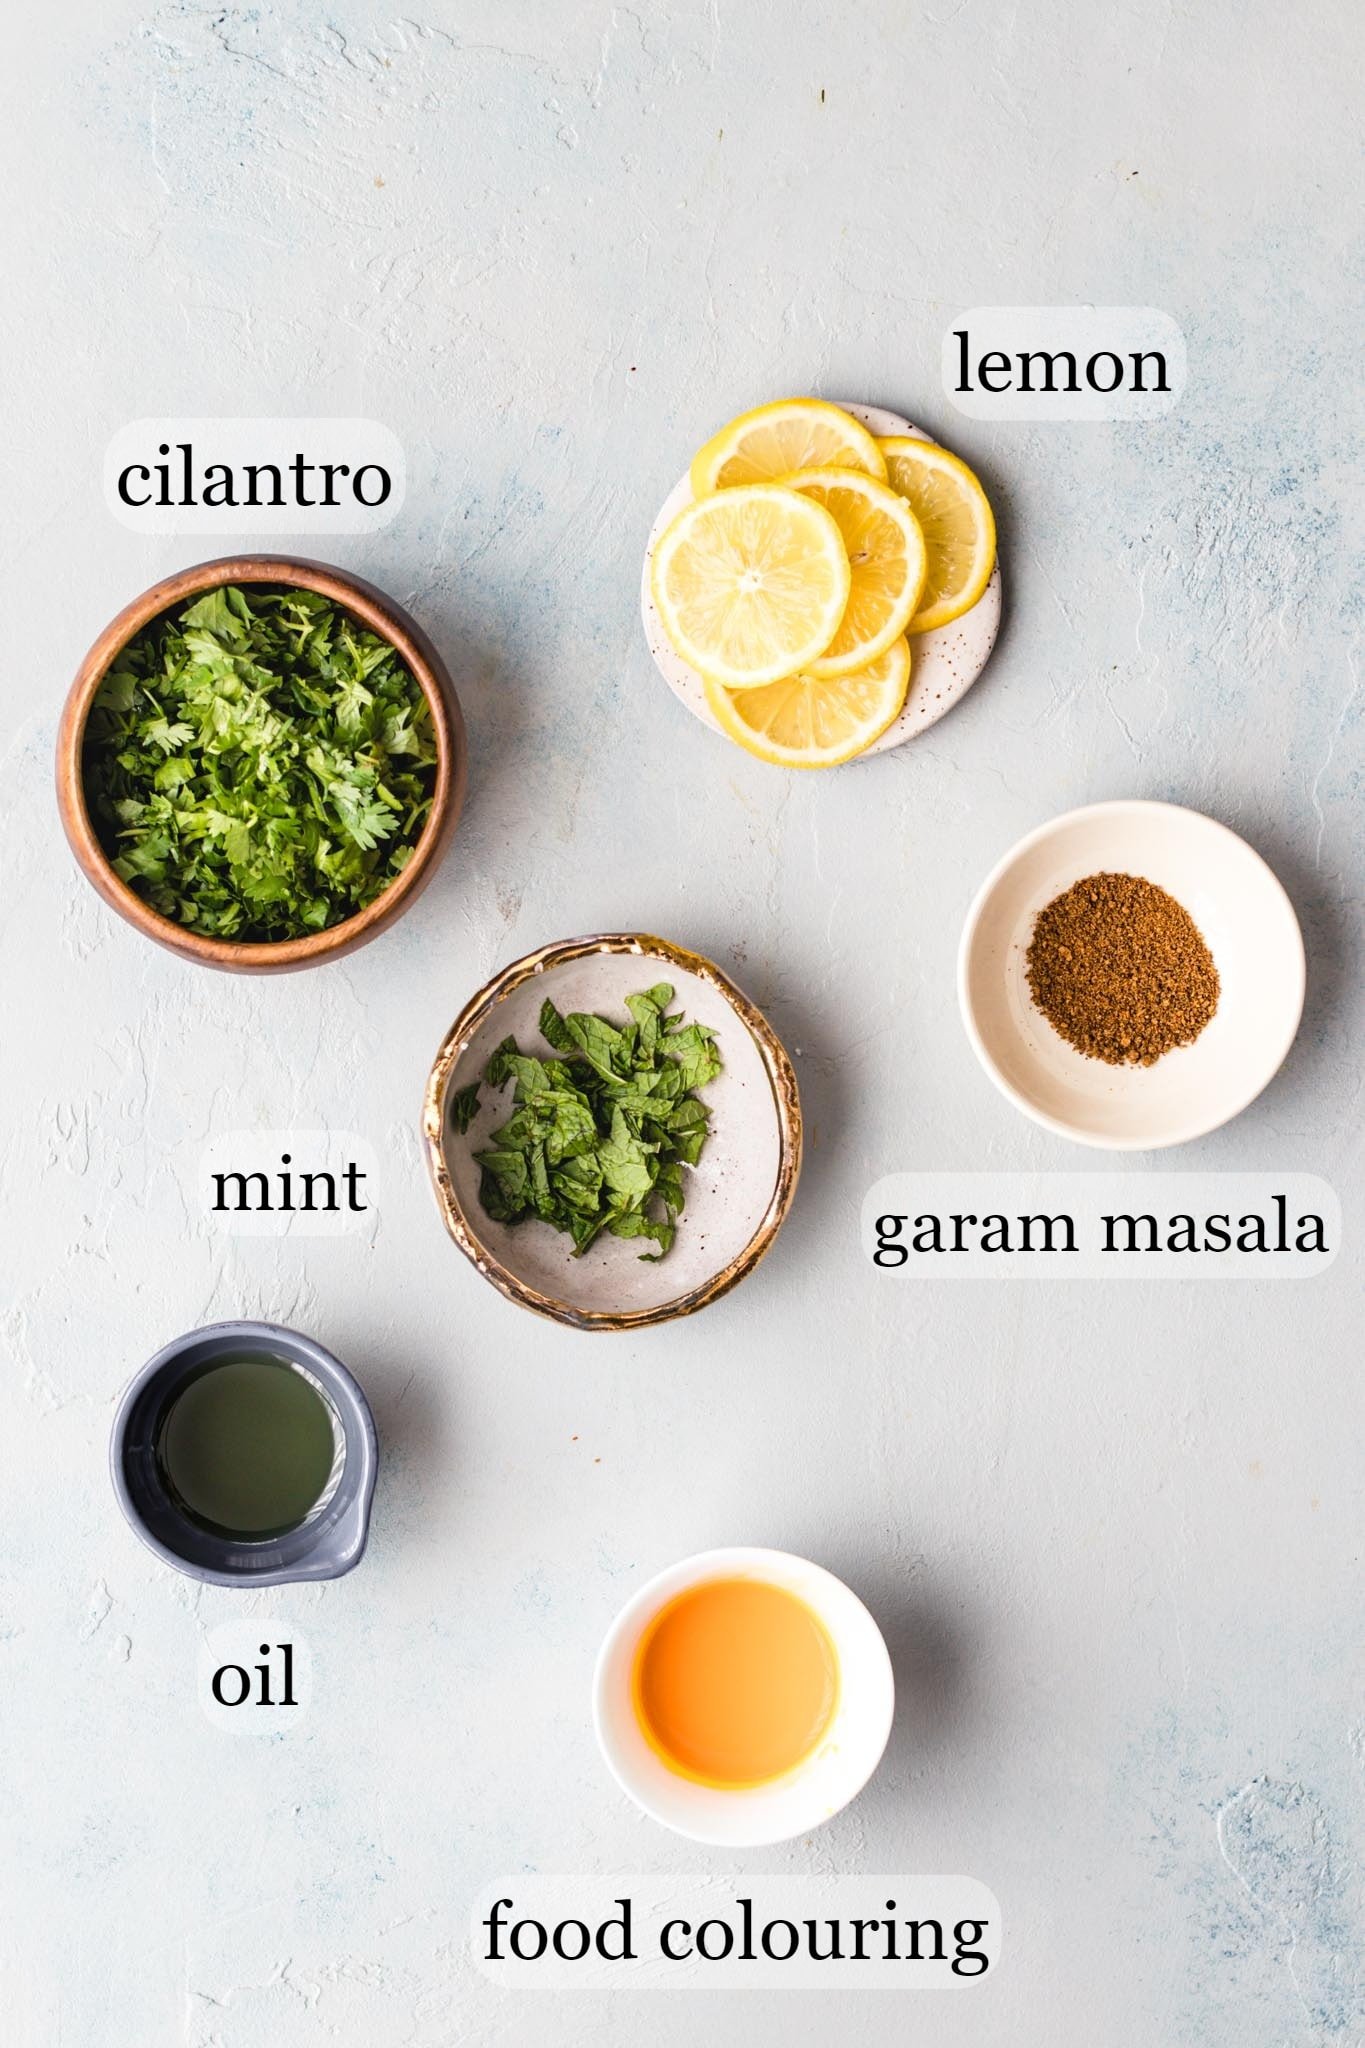
Layering/Topping
- 1/2 tsp chaat masala or garam masala
- 1 tbsp oil
- 1/4 cup cilantro leaves, chopped
- 1-2 tbsp mint leaves, chopped (or sub more cilantro)
- 1/8 tsp yellow/orange food coloring mixed with 1 tbsp milk or water
- 1 (5-7 slices) lemon, thinly sliced
For Serving
Instructions
- In a medium bowl, combine the chicken with the ingredients listed under ‘marinade’. Cover and set aside or refrigerate (ideally) up to overnight. When ready to use, allow the chicken to come to room temperature.
- Thoroughly wash the rice and soak it in water. Set aside.
- Heat a large, heavy bottomed pan over high heat. Add the oil, ghee, and onions and sauté until the onions are golden (~15-20 minutes). Deglaze the pan with ¼ cup water. Once the water dries up, add the whole spices, garlic, and ginger and sauté for another 2 minutes.
- Add the chicken with its marinade and sauté until it changes color (~2-3 minutes). Add the tomatoes, green chili pepper, and dried plum (alu bukhara) and stir to coat. Add ½ cup water (the water should cover about 1/3 of the chicken) and bring to a gentle boil.
- Turn the heat down to a gentle simmer (this is low heat on my stovetop), cover, and allow the chicken to cook for 30 minutes, stirring midway. While the chicken is cooking, proceed to the next step. Turn off the heat once the chicken has cooked.
- Meanwhile, prepare the rice. Place a medium pot over high heat and bring 7 cups (1.75 quarts) of water to a boil (See Tip). Add salt, oil, and lemon juice/vinegar and stir. Once the water comes to a boil, drain and add the rice. Stir, and bring it back up to a boil. Once it comes to a boil again, boil for 5 minutes (no more than 5 minutes and 30 seconds), or until the rice is just cooked with a bite to it. It shouldn’t get mushy when pressed between your fingers. (See Note 1) Drain and set aside.
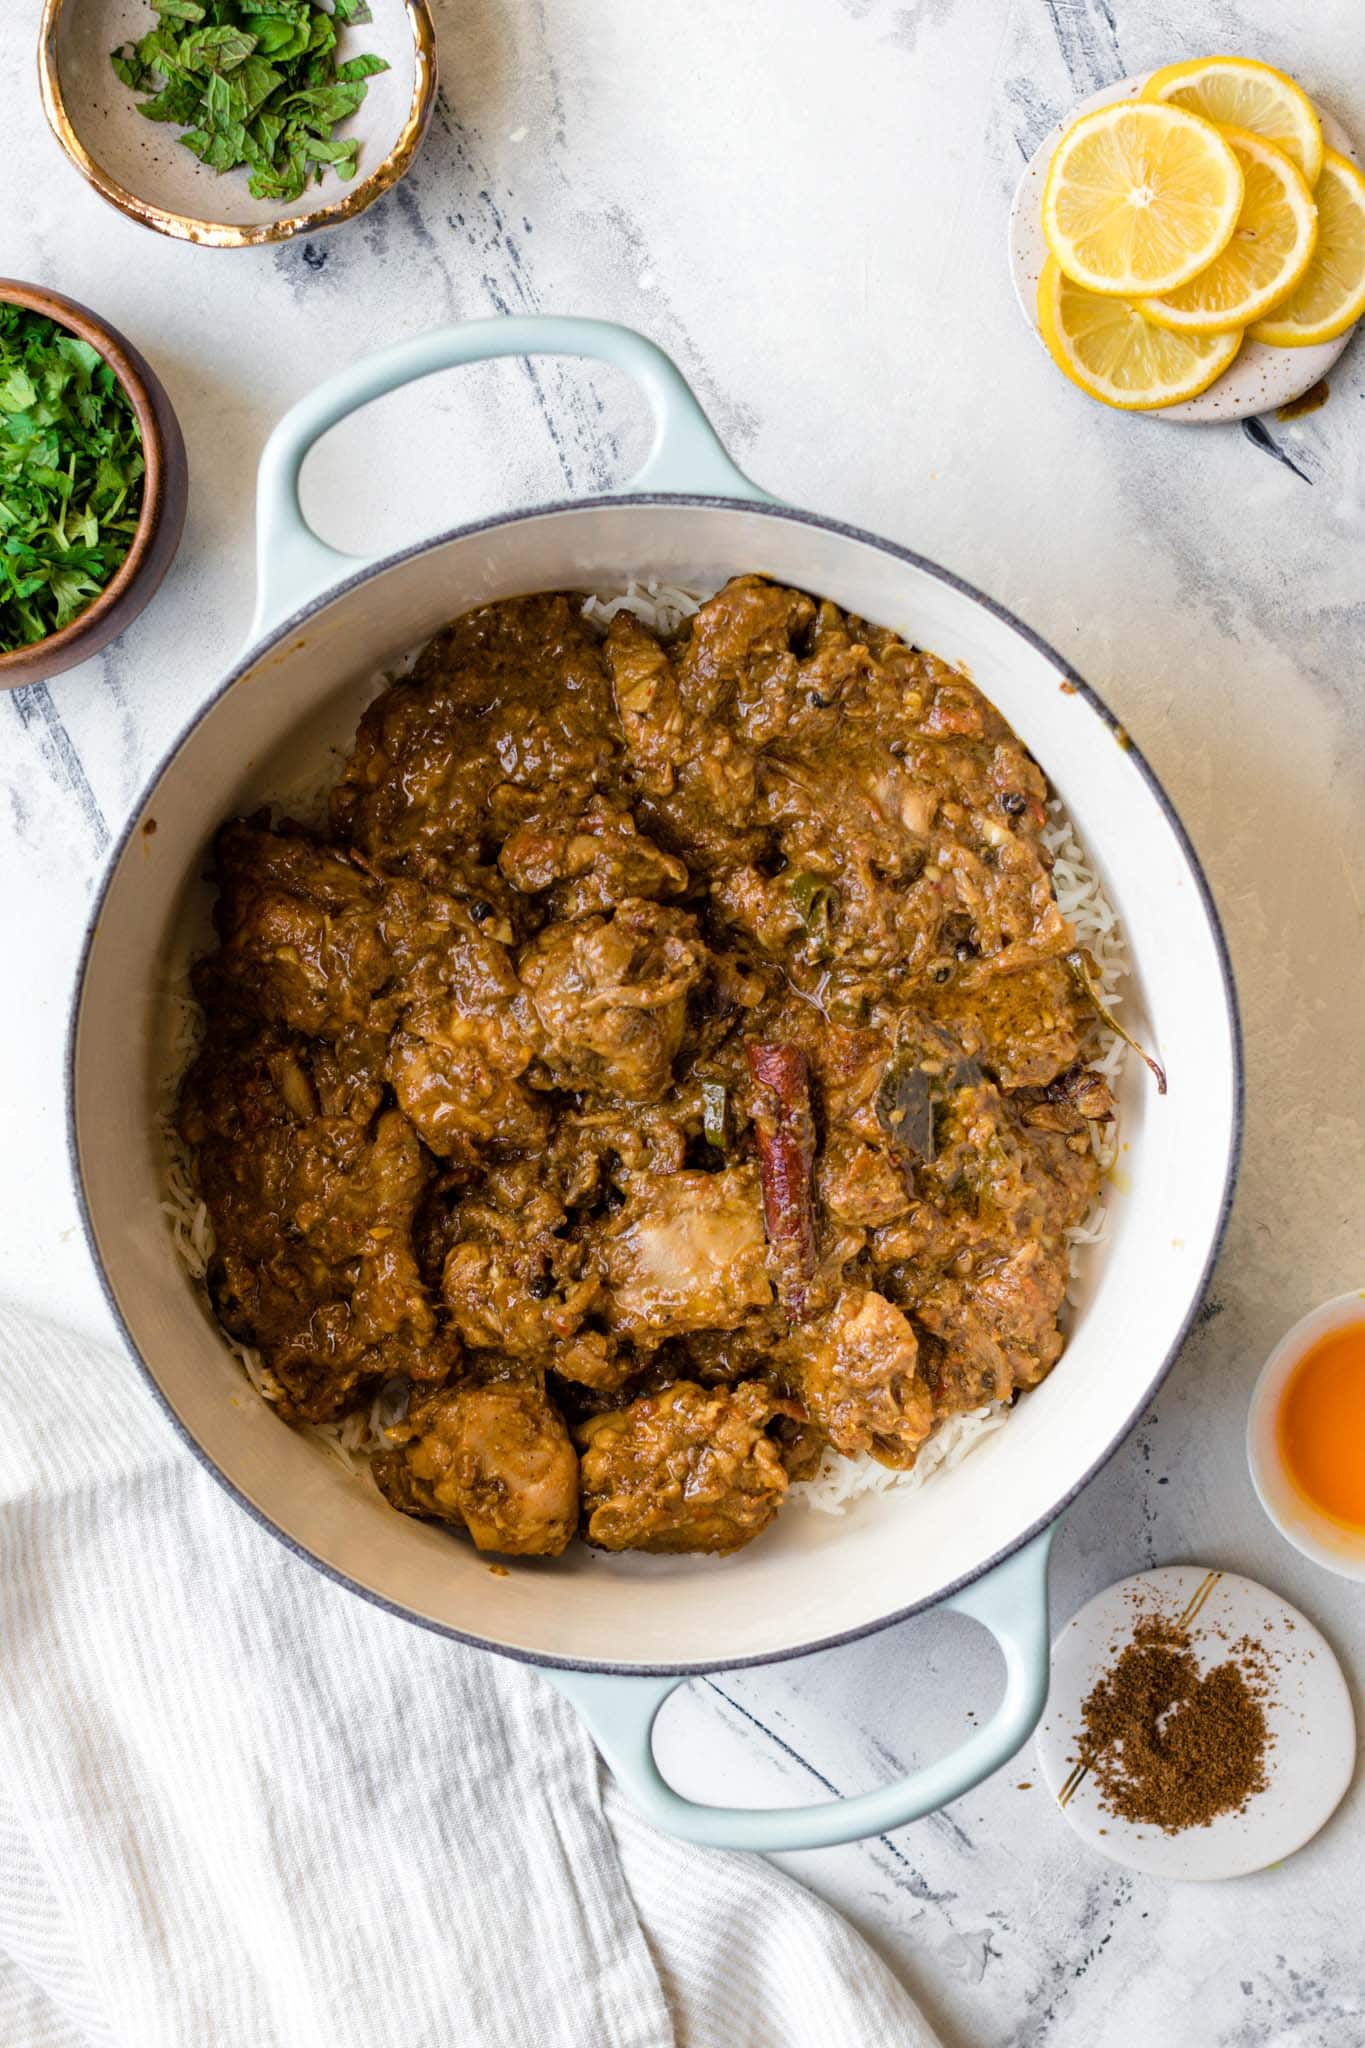
- Uncover the chicken. Raise the heat to medium-high to sauté out any excess water for 2-3 minutes. Add salt, garam masala, and red chili flakes for more heat (if desired). The oil will have separated from the ‘masala’. Turn off the heat. Add kewra water and lemon juice and stir to combine.
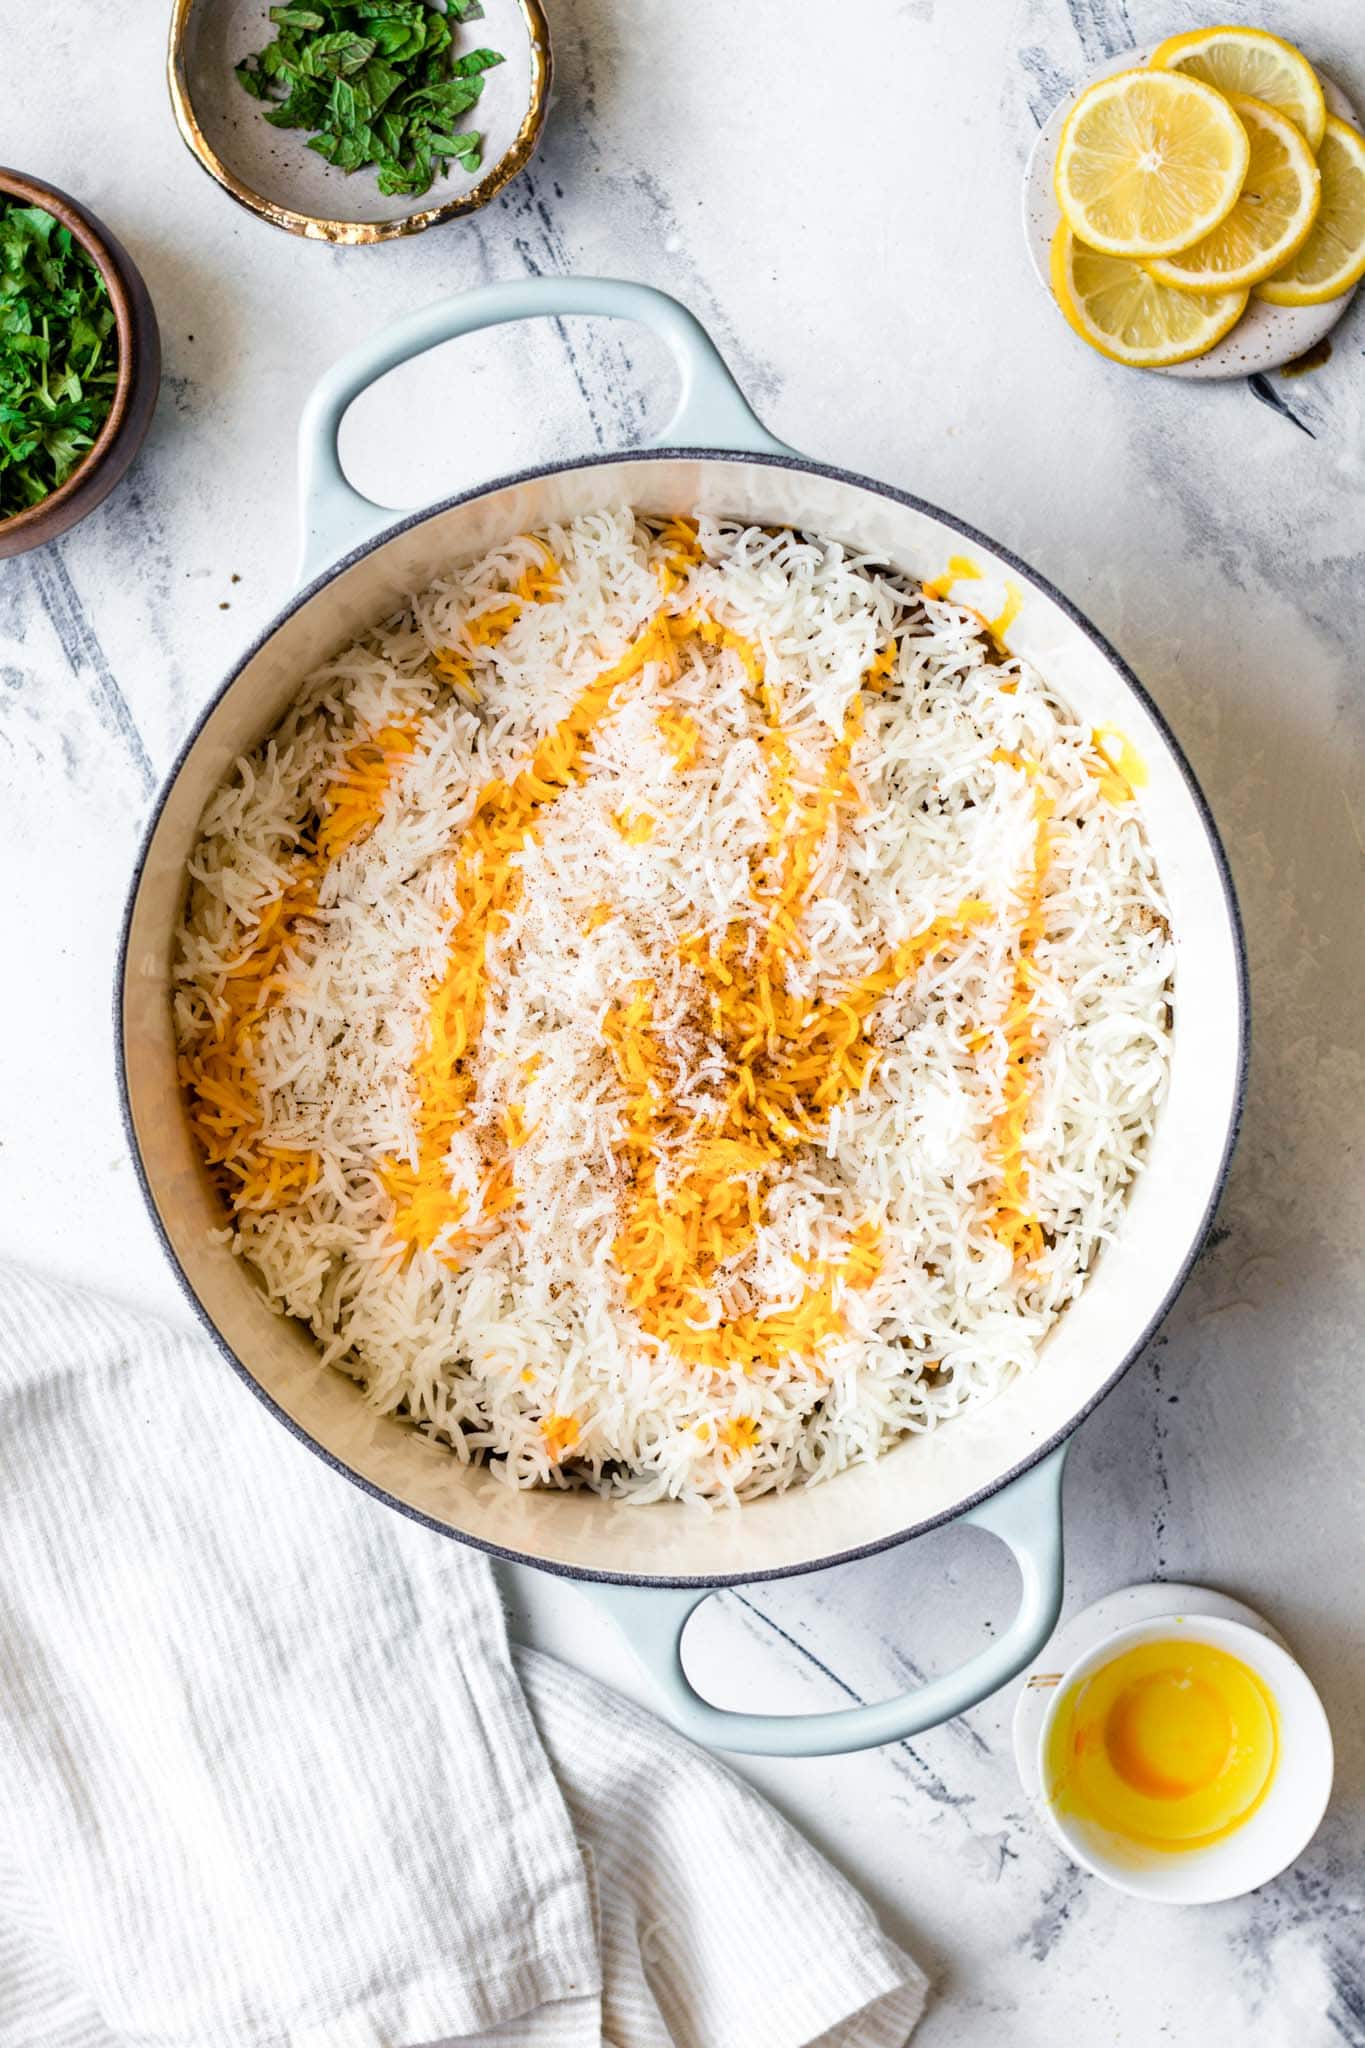
Steaming ('Dum')
- If needed, lightly oil the bottom of a dutch oven or stock/soup pot. Layer half of the drained rice. Sprinkle 1/4 tsp of the chaat/garam masala on top of the rice. Add in all the chicken, and top with the remaining rice. Sprinkle the remaining 1/4 tsp of chaat/garam masala. Drizzle in the colored milk and oil. (Optional: Sprinkle a pinch of food coloring directly for more variation in color.) Sprinkle the cilantro leaves and mint leaves, and arrange the lemon slices on top.
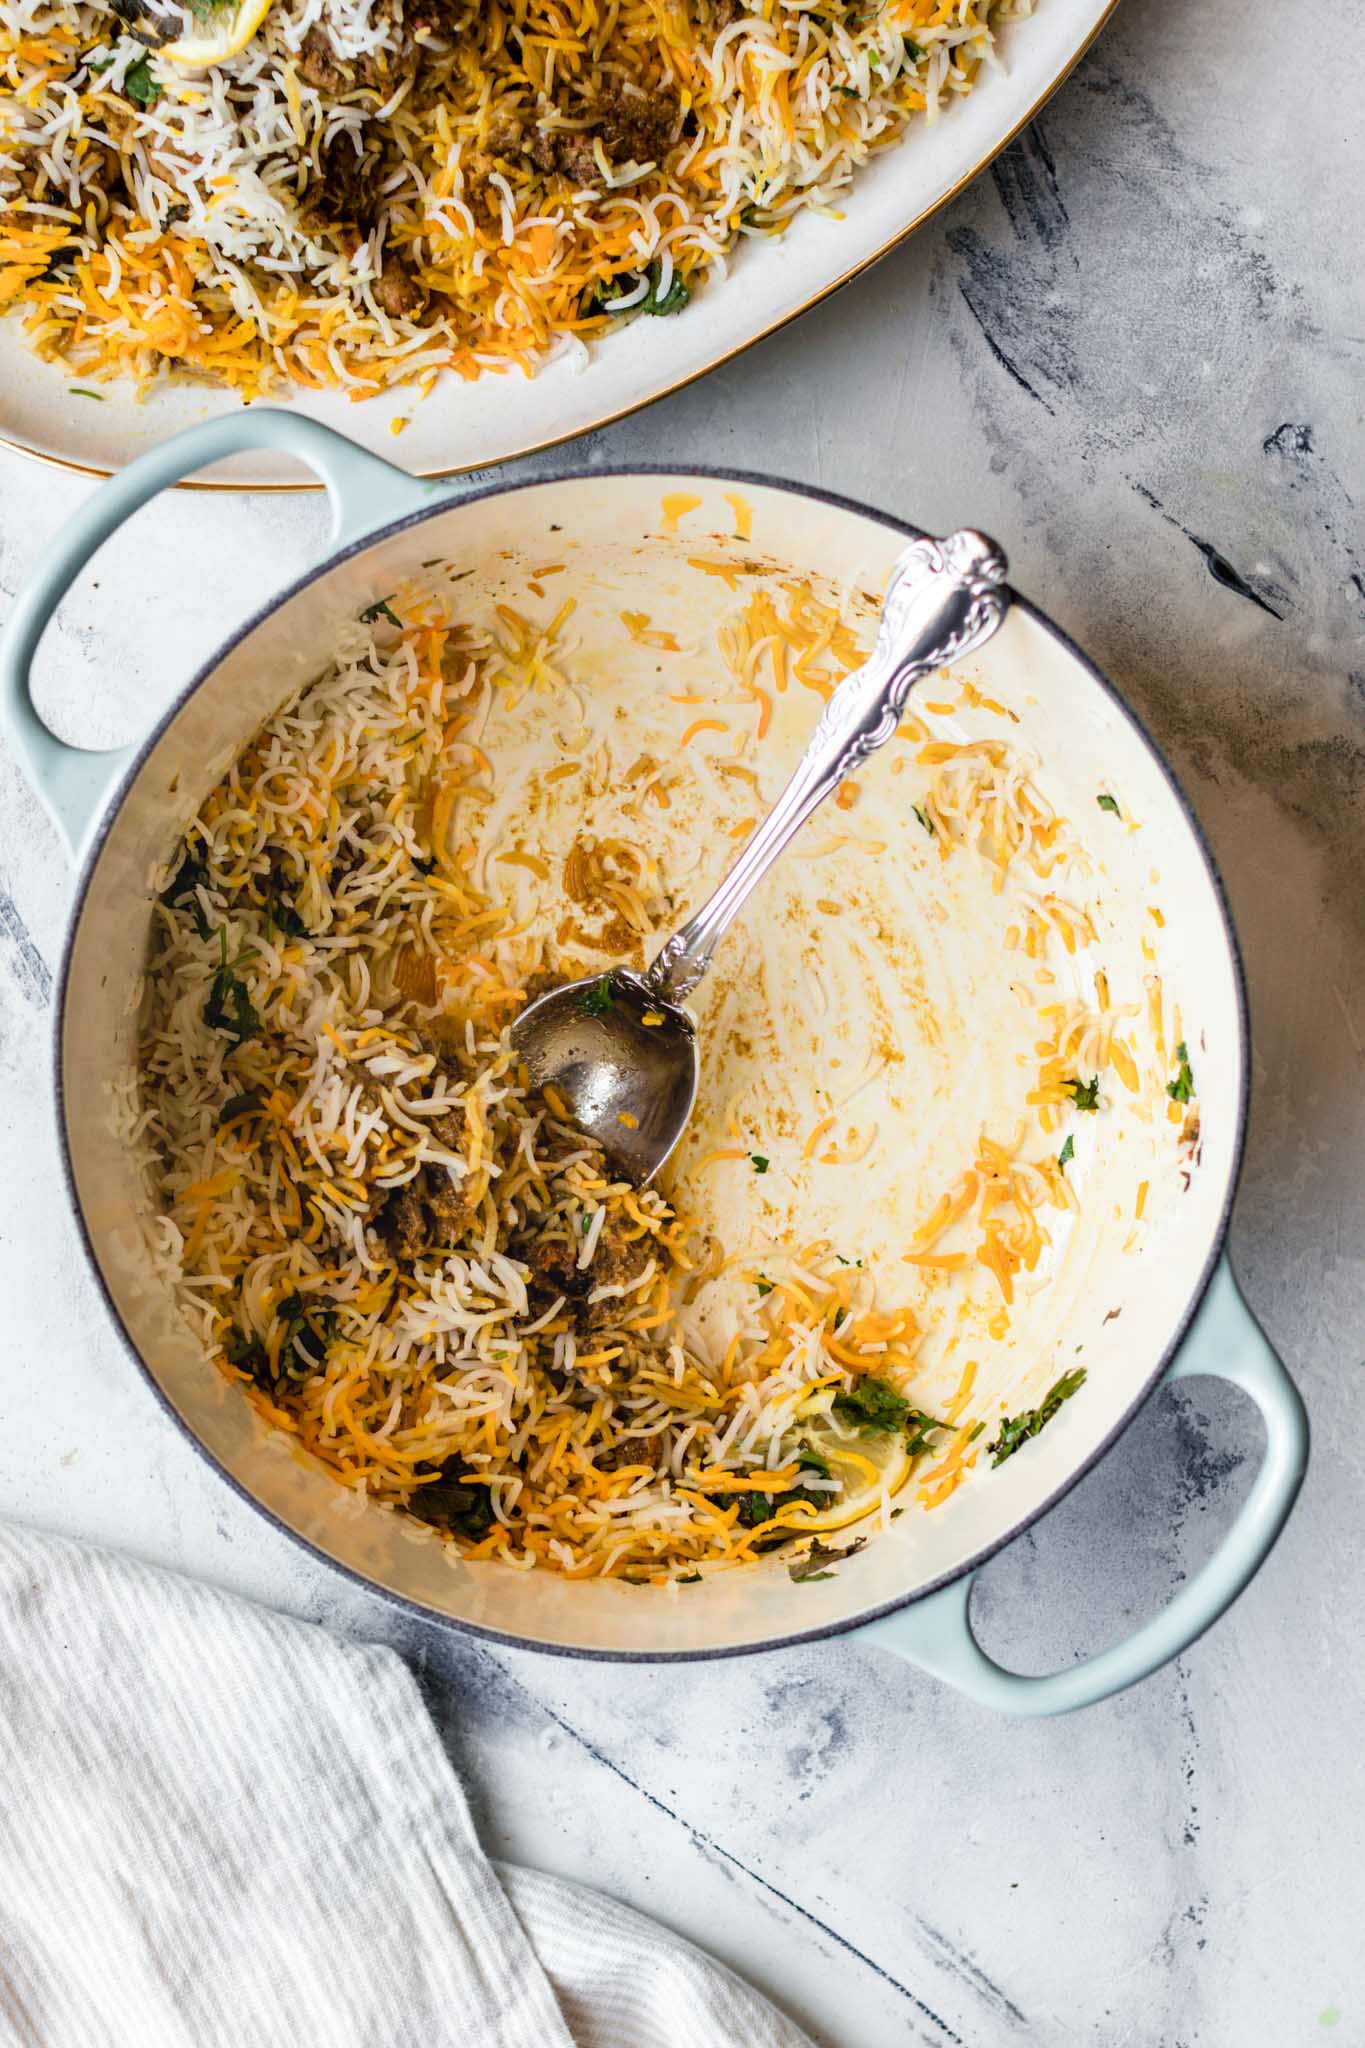
- If your pan isn’t heavy bottomed, place a heat diffuser, flat griddle, or tava underneath the pan to diffuse the heat. Layer the lid with a kitchen cloth (or aluminum foil) and seal tightly. (See Note 2) Turn on the heat to medium and allow the biryani to develop steam for 4-5 minutes. You’ll be able to feel the steam starting to escape the sides. Then turn down to the lowest heat and allow it to cook in its steam (‘dum’) for 20 minutes. Turn off the heat and allow the biryani to rest with the lid on for 10 minutes. Do not stir or mix. To serve, gently move on to platter with rice paddle or small plate. Serve hot with yogurt or raita.


433 Comments on “Pakistani Chicken Biryani Recipe (The BEST!)”
Love it, I’ve made this plenty of times
Wonderful! Love hearing the Biryani is a hit with you 🙂
The best! Thank you for the recipe
Wonderful to hear Aisha! So happy that you enjoyed the biryani 🙂
Will come back and leave a rating. I’ve just come across your recipes and they look amazing. Am trying this Biryani tonight to taste test with a view to making for Eid next week. Looks amazing so will let you know how I go 🙂 Can’t beat a good Biryani
Please share your results! We would love the hear how the Biryani turns out 🙂
Turned out beautiful but I did change one thing as I didn’t have dried plums I used some salty plums I had in the cupboard so it did come out a bit salty. Made it the second time as per recipe and it was amazing. Will definitely be using this recipe again.
Thank you for sharing Rania! So happy to hear you enjoyed the biryani 🙂
The Best!!!!!
Thank you Alfonso! Great to hear the Biryani turned out well 🙂
Rather….Thanks to you
Do you have any recommendations for adapting this recipe to make a large quantity in a steamer-oven?
The steamer oven uses large hotel pans.
Hi Bilal, You can find some tips on doubling the recipe here. I hope that helps!
Hello just wondering regarding the video. When I click it to watch how to make this recipe it brings up other receipes (not biryani). Any guidance?
Could you try refreshing the page? It’ll go back to the initial video/biryani.
Dear Izzah,
About the Chicken Biryani, have a question: can it be adapted for the instant pot? Quite honestly, that’s now my preferred cooking option, especially in a small place. Many thanks.
Everything is explained so clearly – thank you so much.
I will try this recipe today, it will be my first Biryani ever!
Thank you and let me know if you have any questions! Good luck!
Thanks for your excellent recipe! This recipe is legit!!
I cooked this biryani for my family on last saturday . I cooked with 1.5kg chicken and used the proportions accordingly. It was amazing!!
Thanks for your time to demystify the art of making biryani for us.
I have been trying to be successful for the past 10 years (not exaggerating here at all) and now I have nailed it!
Please continue to post such recipes for us.
I would definitely follow your page for more recipes.
I hope one day you will show us how to make lamb biryani :).
Thanks so much Izza.
Thank you for the amazing review Jay! So glad Izzah was able to demystify biryani for you 🙂
This is the best Pakistani style biryani I have ever made . I love trying different kinds of biryanis and this is my favourite go to biryani recipe , it won’t fail you . Thank you for this amazing recipe .
What a wonderful review Salma! Thank you so much for sharing and so glad to hear that you enjoyed the biryani 🙂